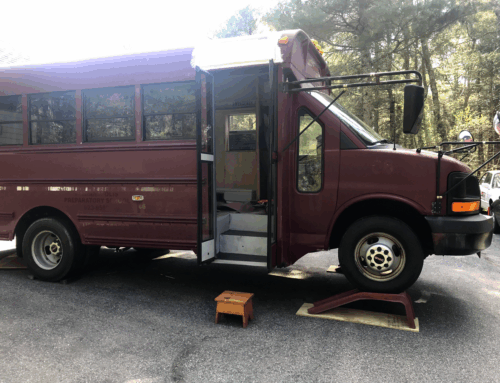
Big buses, little buses, school busses, and city buses, all have plenty of seats. Typically in that range, you can fit from 6 to 60 school kids, commuters, or people on their way to LA to make their way in the world today. That’s a lot of seats! But one seat that buses typically don’t have is a front passenger seat for a co-driver, or navigator (or nag-igator, in some cases, when you don’t listen to directions, or forget to mow the lawn). Co-driver seats aren’t usually a thing because the stairs and flappy door are in the way and you have to make room for all those pesky kids.
Some skoolie builders don’t need or want to put one in, but for us it was a requirement. How can you pass the snacks or open the juice boxes for the driver if your travel buddy is in the way-back? I mean, I guess we could have hired an intern to bring the snacks from the back to the front, like an in-flight roadtrip attendant, but that seemed a little complicated. Building logic is easier. Maybe. Who knows. I was an English major. Math and I are estranged. We don’t talk much.
Anyway, a Seat
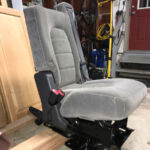
We wanted a comfy place for the co-driver to hang out and be able to chat and give directions and claw at the dashboard during near-misses on the highway. This location though, because of the aforementioned flappy door and grand staircase, is a bit tricky for this sort of installation. We had to make it far enough away from the stairs so that we could have easy ingress and, uh, outgress in case we had to leave in a hurry to pick up our Ray LaMontagne tickets, but also for, y’know, convenience sake. Planning this process seemed like it took forever. We found inspiration though, from these guys, who found a third-row SUV seat. Stealing this idea, we visited our local junkyard again and happened to find the center seat from the third row of a Ford Explorer that had little to no stale Lucky Charms embedded in the crevices.
This gem, which happened to closely match the grey of our driver seat, was inexpensive, folded down, came with hardware, and featured an integrated seatbelt. This thing was also surprisingly comfy for being a spot for a 7th Brady kid (sorry Oliver). The integrated seatbelt was a big find, because if we didn’t have one and we got in an accident, the poor navigator could end up in the back seat of the car in front of us, which would make it really hard for them to pass the snacks efficiently. If we had to build our own seatbelt structure, that would have taken some time too, as we didn’t have a typical B-pillar to provide a solid anchor for the seatbelt.
Steph Finds a Gem
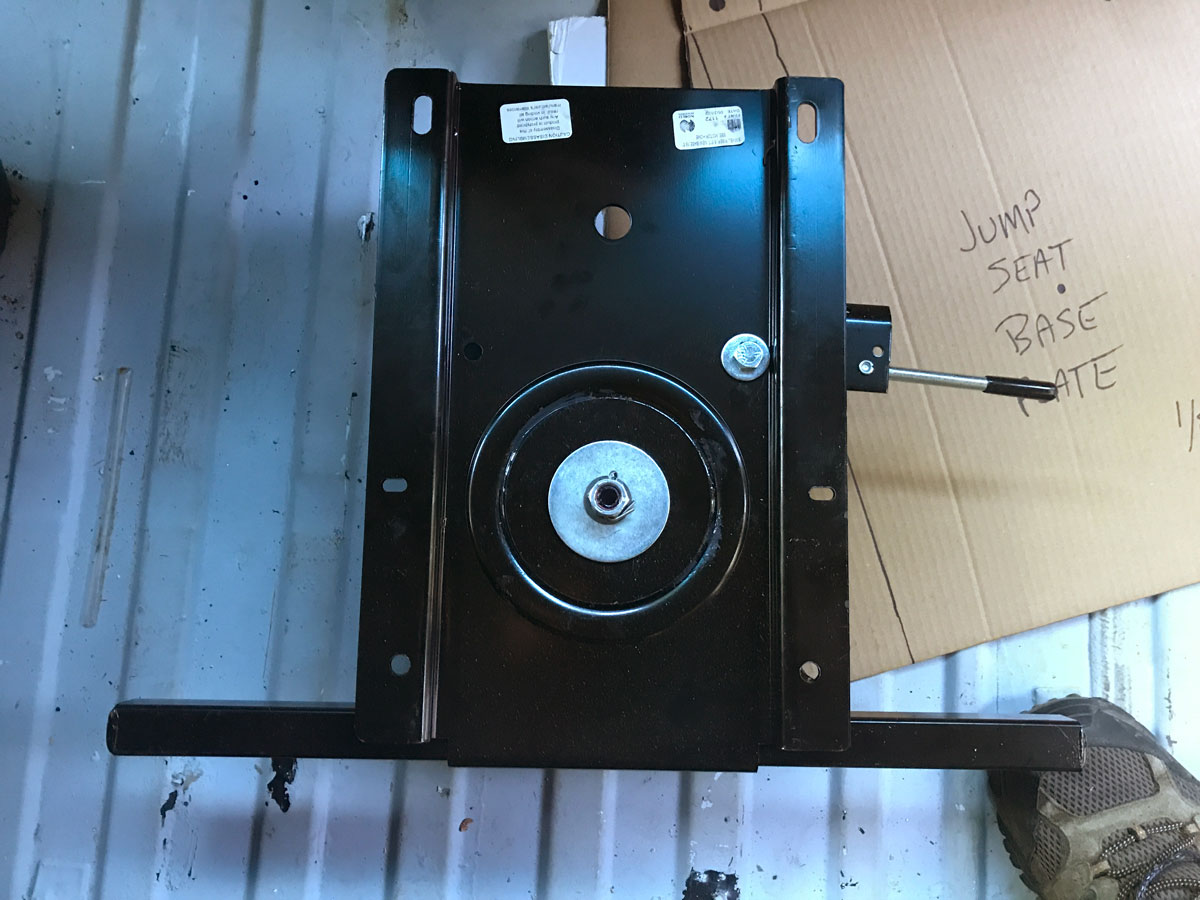
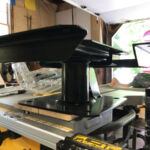
This is the original seat base, complete with the Swivel Master 500 locking peg.
In the depths of the innernets, Steph found a RecPro swivel seat mount (paid link) that they use in Class A RVs, those big honkin’ ones the size of Greyhound buses. The thing is a beaut! It came powder-coated (fancy electric paint), had a choice of pedestal heights, and had a locking swiveler. She found it on the ‘zon and it was at the house only a few days later.
Research, building and product, takes up a lot of time in doing something like this. There are so many ways to go, so many options, and so many ways people have done things differently, that it’s difficult to discern who has really done things and who’s the armchair engineer. Steph has a unique way of cutting through the fog and landing us on solid ground, so that we both feel comfortable moving forward, particularly with safety things.
Mad Scientist Enters the Chat

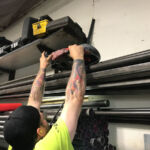
Mad Scientist and Lightning Tamer Bill Doyle helped us immensely during this project. Here he is in his undisclosed lab facility.
How does one get a Ford seat mated to an RV swivulator? We had no idea, but we knew someone who did. He’s a professional welder by trade, evil genius, podium’d rally driver, unique thinker, artist, and all around mad scientist.
Bill Doyle and I have rallied on and off together for 15 years or so. I met him when I was looking for a roll cage builder for my rally car, which was the same as his rally car, an E30 BMW, the ever illustrious chassis known simply as God’s Chariot. He told me he’d worked on giant construction projects in Boston, cryogenic rail cars, massive underground infrastructure boilermaking things, and cages and racing bits for rally and Porsche road racing cars. When I saw his caged car, I knew instantly that he was the person for the job. Sometimes you just get that gut feeling and seeing the work nails that feeling down. I didn’t really get to really test anything though — until I sat ‘Silly Seat’ in his rally car. One fateful rally day in upstate New York, with me as a first-time (only time) co-driver, he rolled it four times at 90 mph in a barrel and end-over-end roll situation. When I crawled out the window into the dirt, it was only then that I knew his welding would be safe enough for my own car. We couldn’t afford crash-test dummies back then, so we just did some live R&D. Y’know, like normal people.
Bill also showed me how to properly mount my race seats, how to position the harnesses, and how to anchor everything down so I didn’t catapult myself or my navigator deep into the Maine forest if I hit a tree on stage. Naturally, he was the one to mastermind the joining of the bus silly seat to the swivel base. While the seat did have downward facing mounting holes, they didn’t quite land on the flat plane of the swivel top. So before I got to his shop about an hour away, I did the one thing in this instance I knew how to do: Play with crayons. I took a piece of cardboard, put the seat on top of it, and drew lines around the base and where the mounting holes landed. In true Bill fashion, he made that work somehow. He doesn’t just tame lightning, he wizards metal like you wound’t believe.
The swivel base came with integrated mounting points for the seatbelt anchors, but since we already had an anchored seatbelt within the seat itself, we got to cut those ankle biters off. I did save the ends because they have threaded holes, which we could use for something else — or I could sell them in a yard sale after tripping over them in the garage for the next 27 years.
Sparks and Stuff
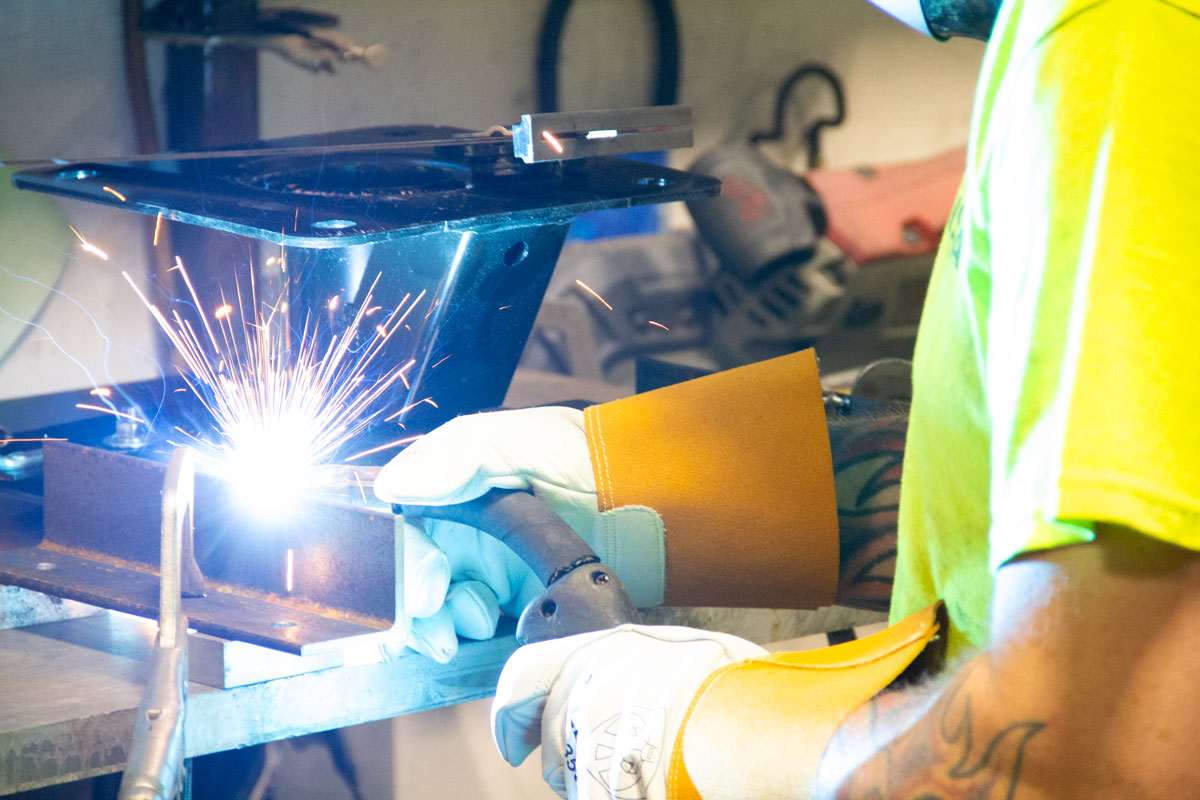
The Lightning Tamer sets about fusing the seat to the swivel with some molten lava.
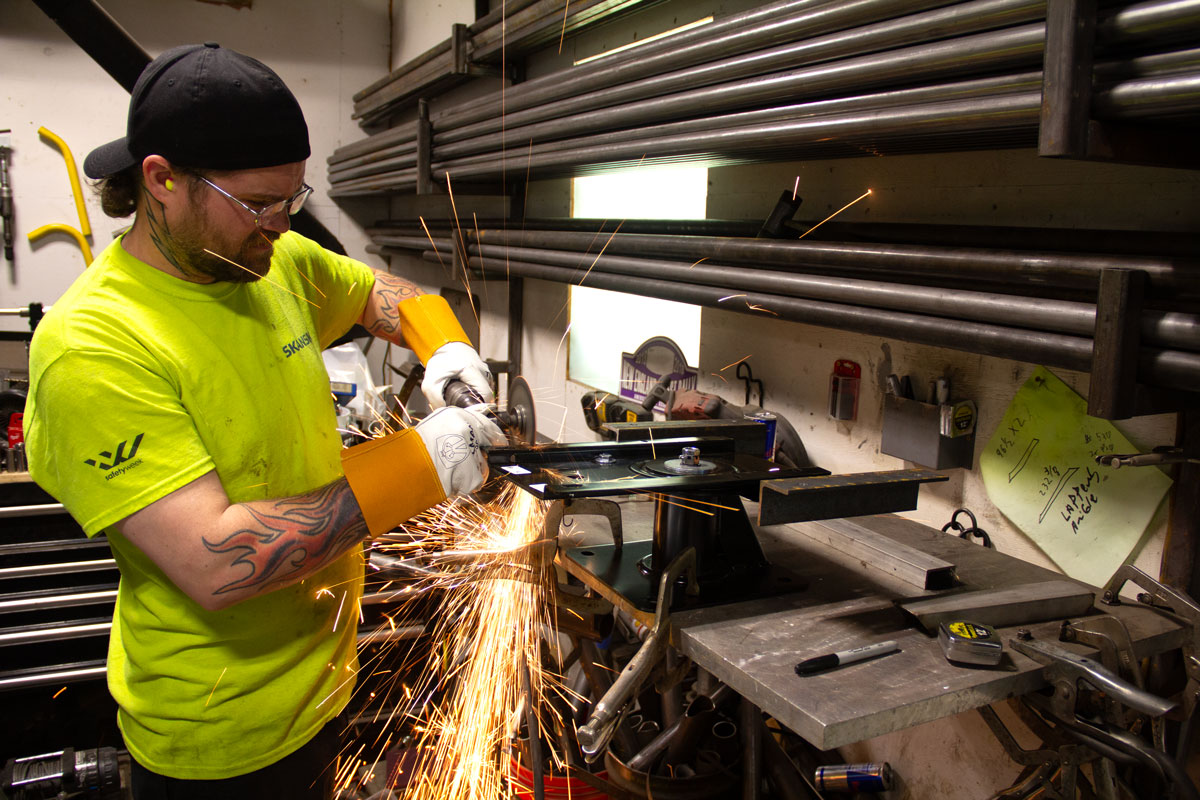
Bill puts on a light show with the grinder, smoothing out those sharp edges.
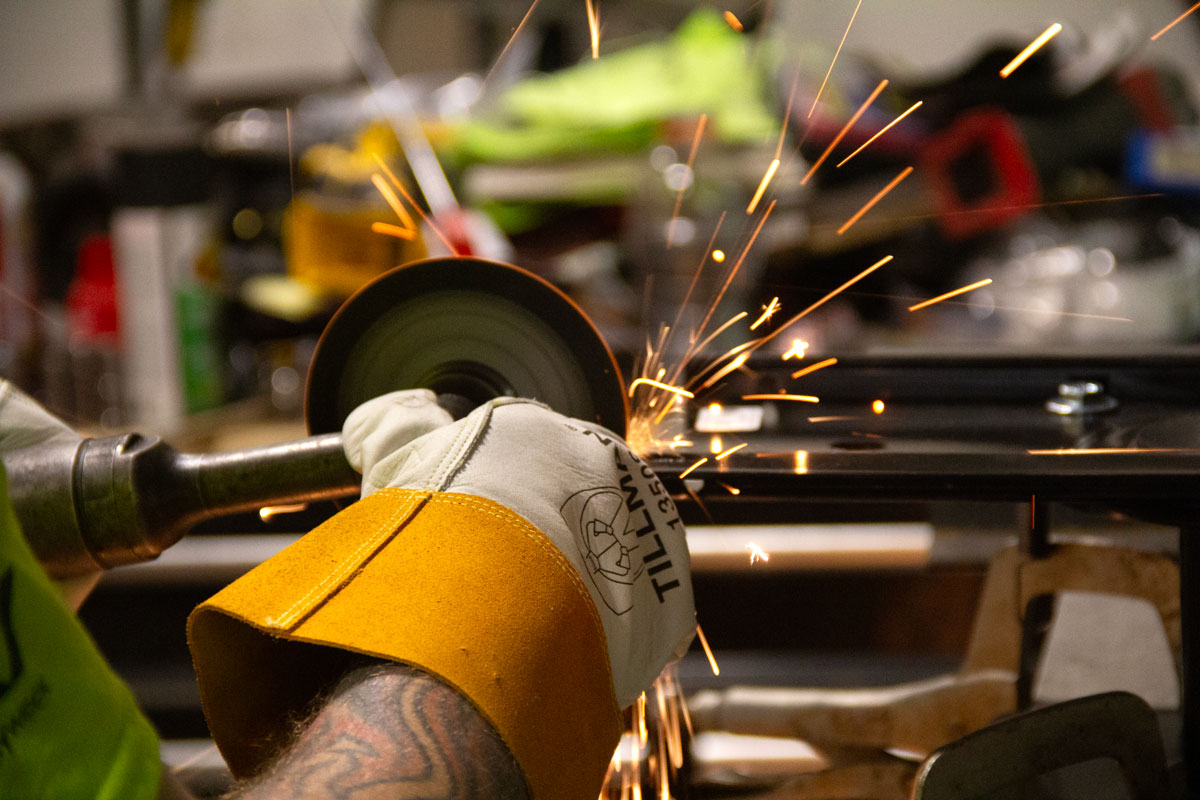
Here’s the sparkly action up close. Almost looks like he knows what he’s doing.
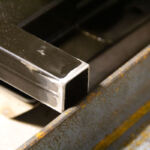
Using my elementary school-quality cardboard crafting project, which was about as accurate as the steering on a ’66 Buick, Bill started by redoing all my measurements because they were all wrong. After that, he placed the new template on top of the base, moved it around a little to estimate the balance of seat to swivel, measured again, and cut up some thick angle iron normally used for building race car bits. He MIG welded two pieces on each side for landing points, for the rear mounting holes on the seat, then added a front bar for the front mounting holes. Furthering the finished look and feel, Bill also cut corners (in a good way) to keep shins from splitting or anyone losing their fingertips whilst monkeying around under the seat. As it turns out, when Steph and I installed the thing into the bus, there was a lot of monkeying around under seat.
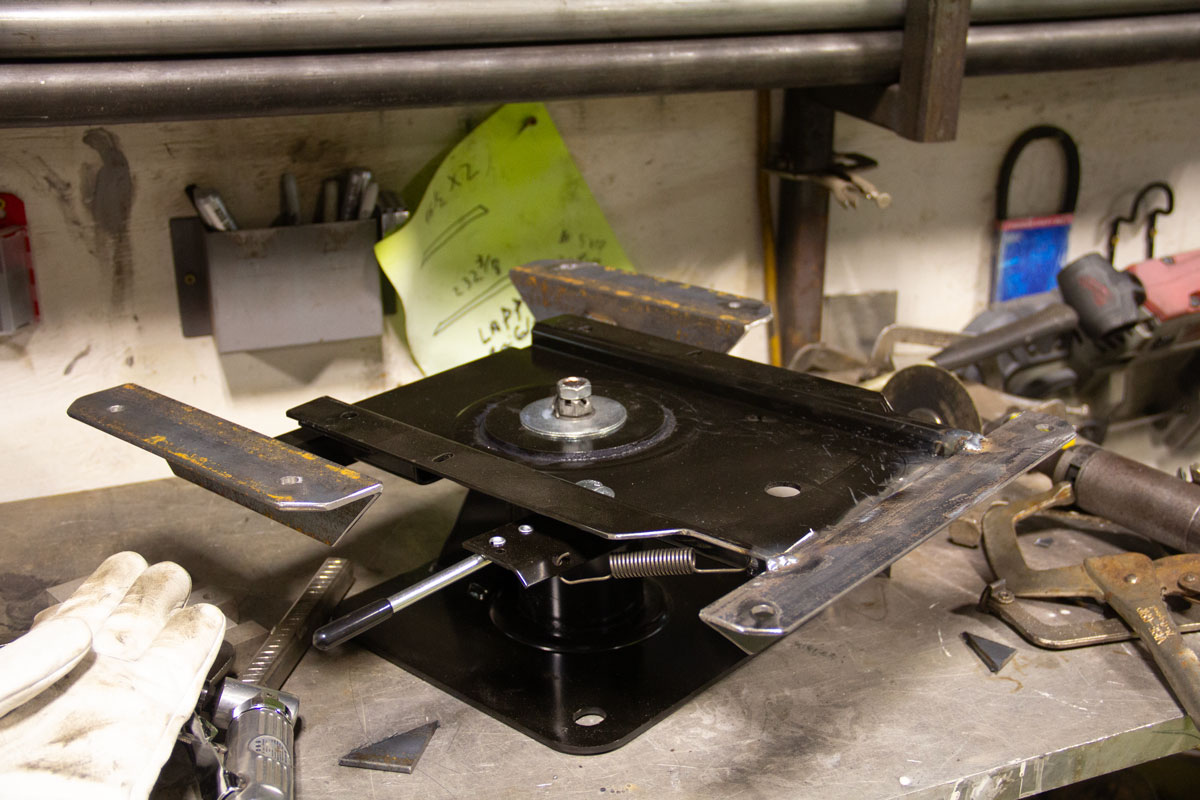
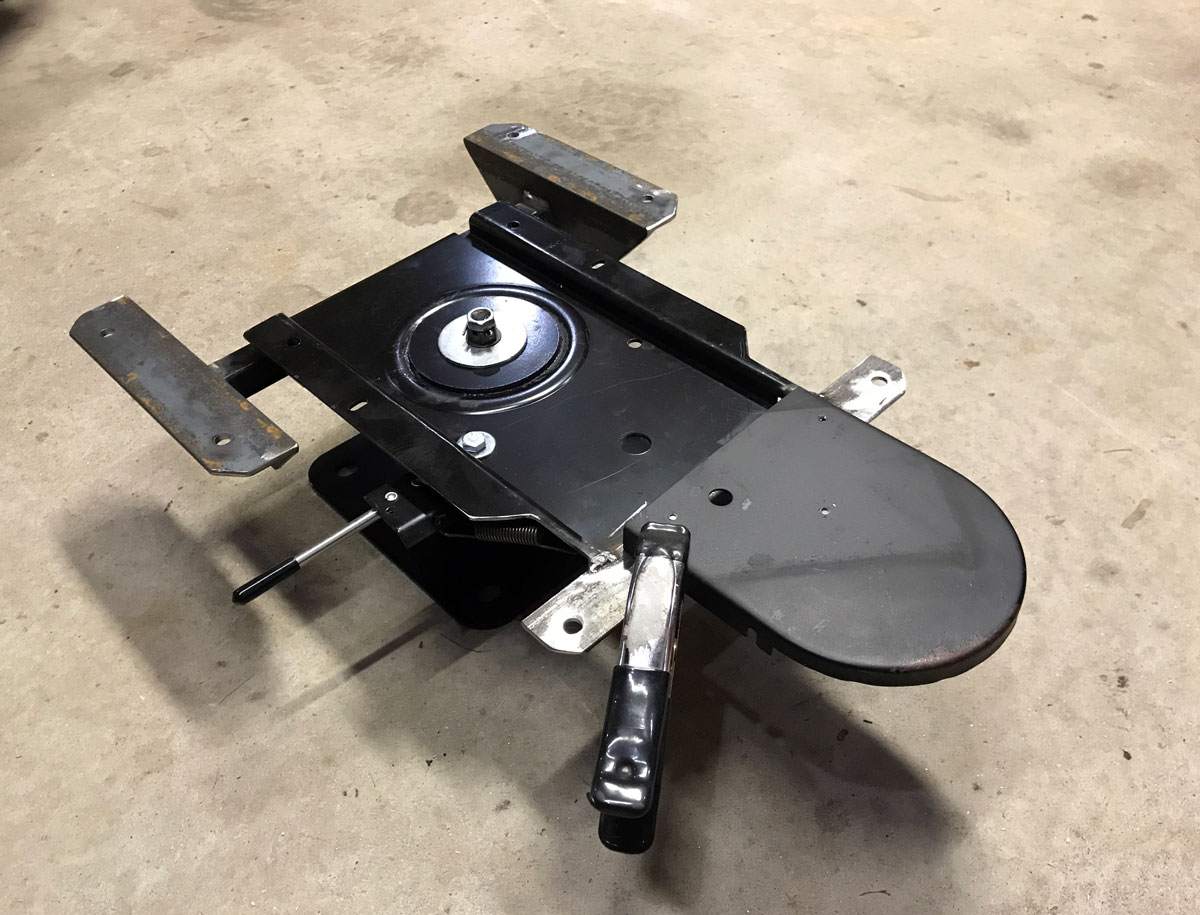
This is the final design in cooling mode, complete with ‘cut corners’ on the angle iron.
So after Bill made sparks and lightning in a custom fab situation, I took our swivel home, drilled the corresponding holes in the new plates, primed and painted the new work to match, and briefly made it look like the Starship Enterprise, because inside, I’m 10.
Nowhere near as cool as a Star Destoyer of course, but it does resemble the Enterprise a skosh more.
Most car seats are built onto a frame that bolts down into the car’s floorpan, which is reinforced with thicker steel, or plates, with a captive nut for the bolt to go through. A captive nut is not like Jack Nicholson in One Flew Over the Cuckoo’s Nest, rather, it’s an actual nut, or threaded chunk of steel built into a thing so you just have to worry about reaching the bolt, and not the nut. Since the bus did not come with a seat in that exact location, we had to have a workaround.
Here’s what we did:
Technically, I could have used a similar harness (seatbelt) setup that’s in my rally car, which is that steel plate sort of device, with a welded nut on one side. That would then go under the floor plan underneath the car, then an eyebolt would thread through that then clip to the harness. Since this situation was a little different — and the seat itself needed to be secured, not just the person — I wanted a beefier scenario. Remember, it’s not the speed that kills you, it’s the sudden stop.
So, after some widening of holes, we popped some Grade 8 hardware into the seat and base, using NyLock-esque nuts (paid link), which have a little nylon jammed in the threads, so they don’t loosen up; sort of like a split washer, but easier. I chose those because that’s what the GMC factory did with the driver’s seat base, so I followed their lead. Once the seat was married to the base, we positioned it exactly where we wanted it, then took a peak under the bus to make sure we weren’t drilling into a brake or gas line, making sure we didn’t fill up the cab with Black Gold, or Texas Tea.
Now this is one of those moments, after so many, many frustrating ones so far, that things literally aligned. Since there were no vital fluid lines in the way underneath our faire vessel, just the subframe rail, we deemed it safe to drill some feeler/pilot holes through the floor for echo-locating our base mount location. Wouldn’t ya know, there was only a little tin heat shield in the way, and even better, the pinnacle of all pinnacles, the bolts would land, two on each side, of the truck’s subframe rail, which is even thicker than the standard floorpan.
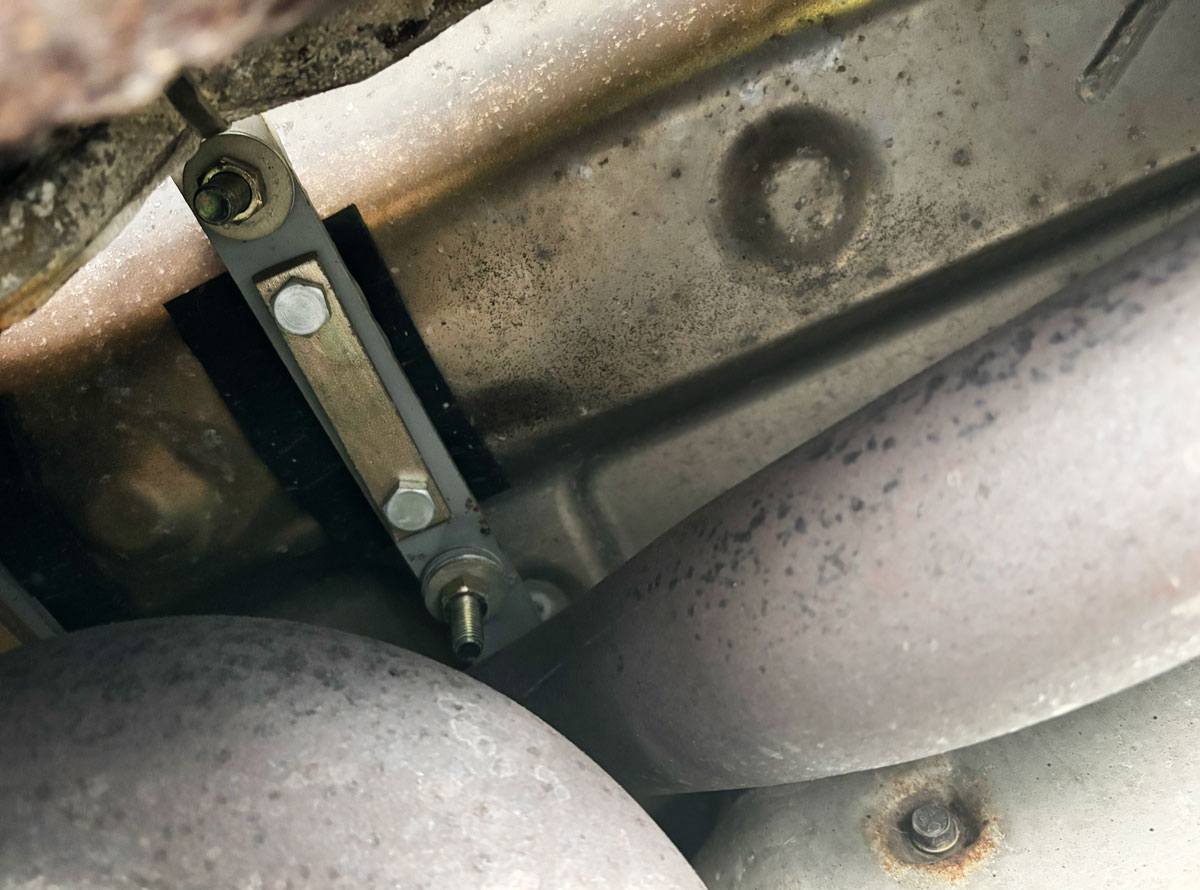
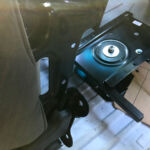
A little hard to get a good photo, but here’s the undercarriage shot of the bolt connections to the MacGyver’d seat mount surrounding the subframe.
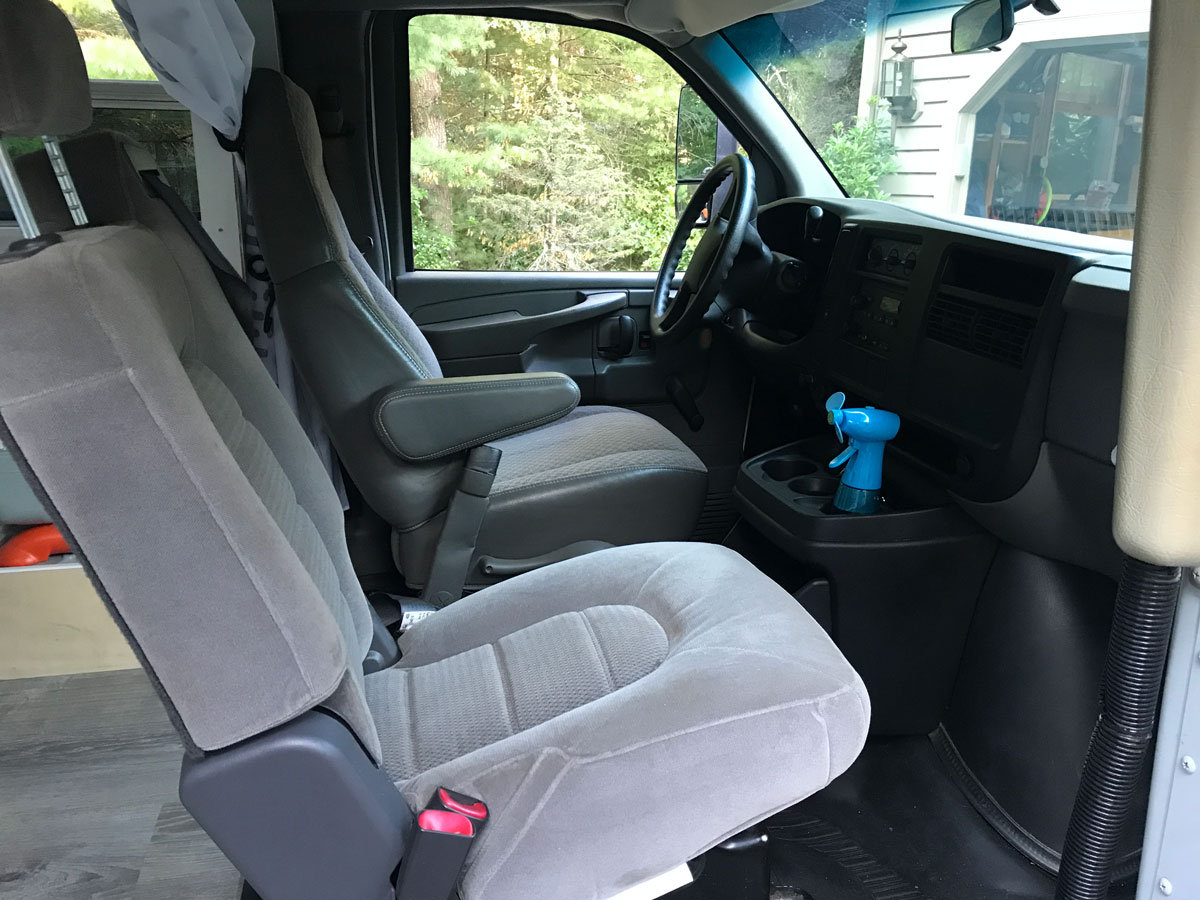
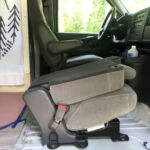
Here’s the final version with the seat fully installed. The colors sort of match.
That gave us the idea to skip the captive nut/plate thing, and wrap that rascal right around the subframe with some stout, DIY U-bolt-ish fasteners that include some more Grade 8 bolts and a steel bar. The bolts go down through the seat base, through the bus floor, through one side of the steel bar with a nut, then the same thing on the other side, straddling the subframe rail. We added a little piece of mudflap cutoff to sandwich betwixt the steel bar and the subframe, much like the bus body mates to the truck frame (see post). We’re definitely not engineers, armchair, or otherwise, but I’d venture a guess that this is as strong as factory, perhaps a little stronger. So if we get into a 300 mph crash, I think the only thing that would be left on the chassis is the passenger seat. So there’s that.
That’s how we installed our navigator / snack passer seat in the bus. Many, many thanks to Bill Doyle, not only for his mad skills, but his mad sense of humor!
Next week, we start building with wood! No rust!
Here are a few more shots for the road:
-
- Here’s the seat finally mated to the mount.
-

- Here’s the underside with the seat mounting holes.
-
- Bill chamfered the edges of the connecting points before welding. A chamfer is a little angle cut that allows the lava to flow in and get a good bite.
-
- No need to take that angle iron down, just cut in place!
-
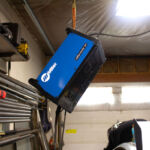
- Sometimes Bill likes to leave his lightning box a-dangle.
-
- Here’s the underside of the finished mount in all its glory.
-
- Test-fitting the seat for the 87th time.
-
- We put this in to start testing about where we wanted the seat to land.
-

- The older I get, the more this means something.
-

- Here’s the folded seat in place and complete.
-
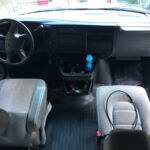
- Here’s a snap of the finished Driver and Silly Seat awaiting their new adventures.


Leave A Comment