I started watching @ThisOldHouse in the mid-1700s and have been fascinated by the whole wood thing ever since. I thought it was so cool that Norm and Tommy and the dudes could make brand-new lumber match centuries old lumber and keep the whole character of the house intact. Plus, who doesn’t like the smell of fresh-cut lumber? That smell means something’s happening. Sh*t’s gettin’ done. Know what I mean?
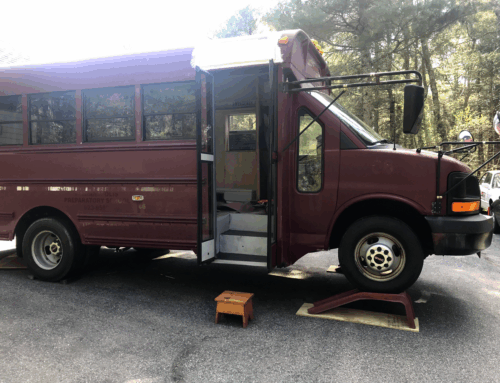
Admittedly, I got a little starry-eyed when we first started cutting our own lumber to start shaping this metal arch tube thing into a homey affair that would later welcome us into its cozy confines. After 87 years of watching the best home fix-it show ever, I still don’t really know how to use a tape measure, but I do know that in house-houses, you’re supposed to space out the wood every so many inches and that’s how a magic formula holds everything up. The good news is, the basic structure was already there, so we really weren’t responsible for holding up walls and the roof and the like. We just had to sort of build the furniture we wanted and staple it to the aluminum somehow.
The only ‘room’ we had to build was the bathroom and we liked doing that so much we built it twice (Nope. We didn’t like building it twice. At all. But we had to. More on that later). I’m not sure a closet is a room, but we ultimately built two of those too (in a good way): One for clothes and one for the electrical gubbins that would run the whole joint. For some reason the closet with the clothes in it became the most popular structure in the place even though the electrical room looks like the instrument panel of a 747, with all its flashing lights and whirring gizmos — but at least there’s room for socks.
Stronger than your average RV
Anyway, since our 1973 popup camper was basically made out of balsa wood and pinecones, we decided that we needed to beef up the structure a little bit. In retrospect, we probably didn’t need to make our bathroom stage-rally ready, but we kind of did. For example, most modern RV room framing is made with 2x1s or 1x2s, whichever way you like to say them, that’s made out of this sort of hard cardboard, not even quite MDF. Ours though, we made with 2×4 and 2×3 studs, like full on house stuff, just in case we roll it over on the AL-CAN highway, we can still use the bathroom when we roll it back over. It’s stronger than usual, is what I’m getting at really. It’s kind of like using a California Redwood as a flagpole.
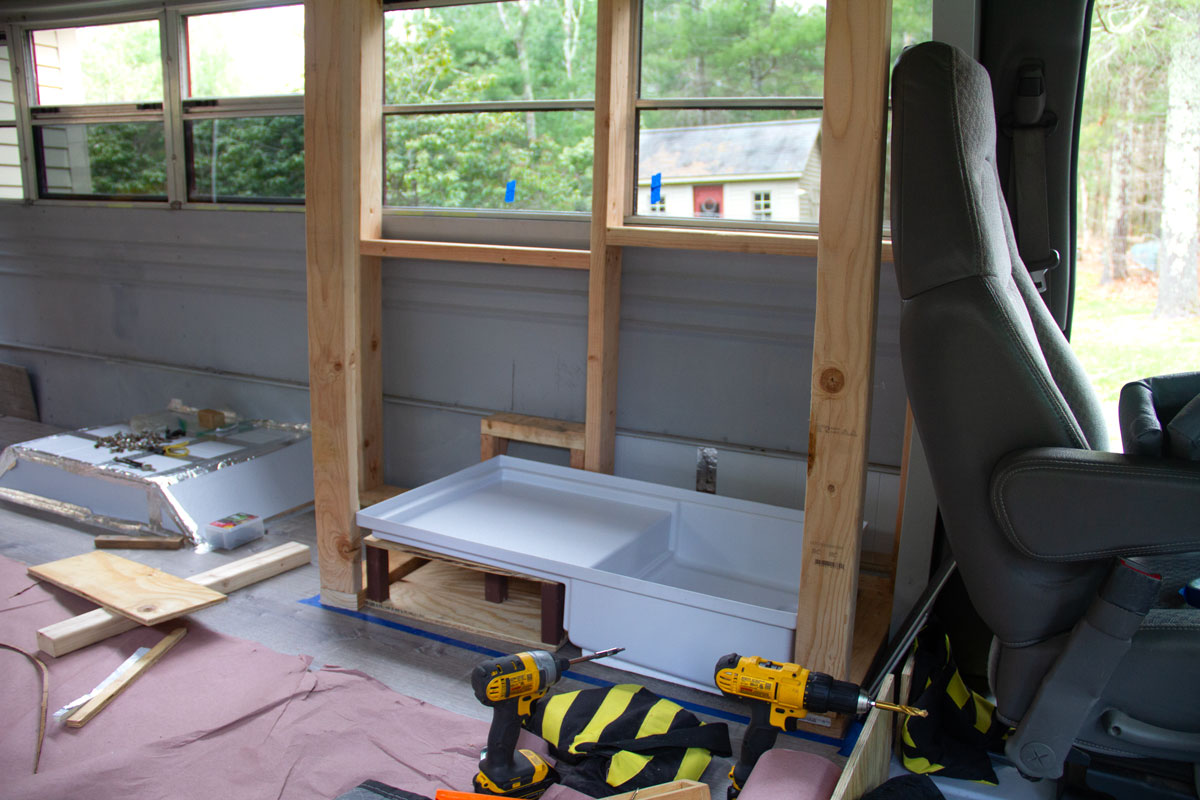
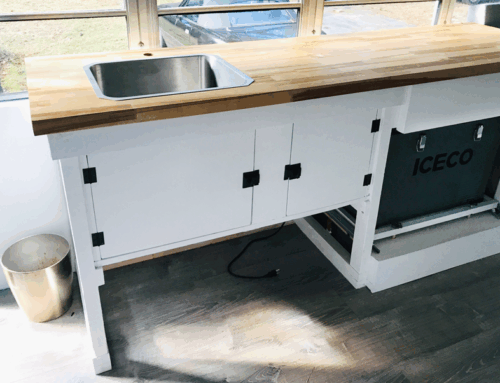
So we grabbed the tape measure, y’know, for looks, our trusty sheet-metal-and-wood screws, an impact gun, some lumbah, and a miter saw, which makes nifty angles — if you have an advanced geometry degree (is that a real thing?). The idea was to build narrow inner walls so we could attach other things to it, like the bed framing, bathroom wall framing, countertop, etc., all while leaving an inner space to run electric and plumbing, so we didn’t have any of that stuff exposed. We were going for cozy cabin-ish, rather than chic industrial. That meant tucking everything behind a wall when possible. This is also a good idea, since you don’t really want to have your breakfast fork knick a 120V power cable that could boil the fillings out of your choppers.
Even on the square parts, the bus ain’t square. This is just an illusion we’ve created.
The Gas Hole
One other thing we had to concern ourselves with was The Gas Hole. In our particular bus, the fuel filler neck runs from the outside wall, down inside the cabin a bit, then continues down under the people-carrying part of the bus to the tank. The bus factory installed a nice hard cover for that exposed fume tube to keep those hormone jockeys from kicking it and stepping on it on the way to the lacrosse game. To keep that safe from future screws and other building disasters, we built a little frame around the cover for extra peace of mind. That frame also provided a little flat space to build on as well, instead of a metal slope that had explosive go-go juice underneath that unassuming little cover.
Prior to the start of the bathroom build, Steph had done e-x-t-e-n-s-i-v-e research on finding a shower pan that would fit what we wanted, which was a bathroom that didn’t extend too far beyond the driver’s seat width-wise, as we wanted a nice big hallway to cartwheel down if the mood struck. We thought about regular house basement shower pans, but they were all too big and cumbersome and too tall for this fella to stand up straight. We thought about DIY shower pans, but figuring everything else out was a little too overwhelming for the speed in which we wanted to get this thing done.
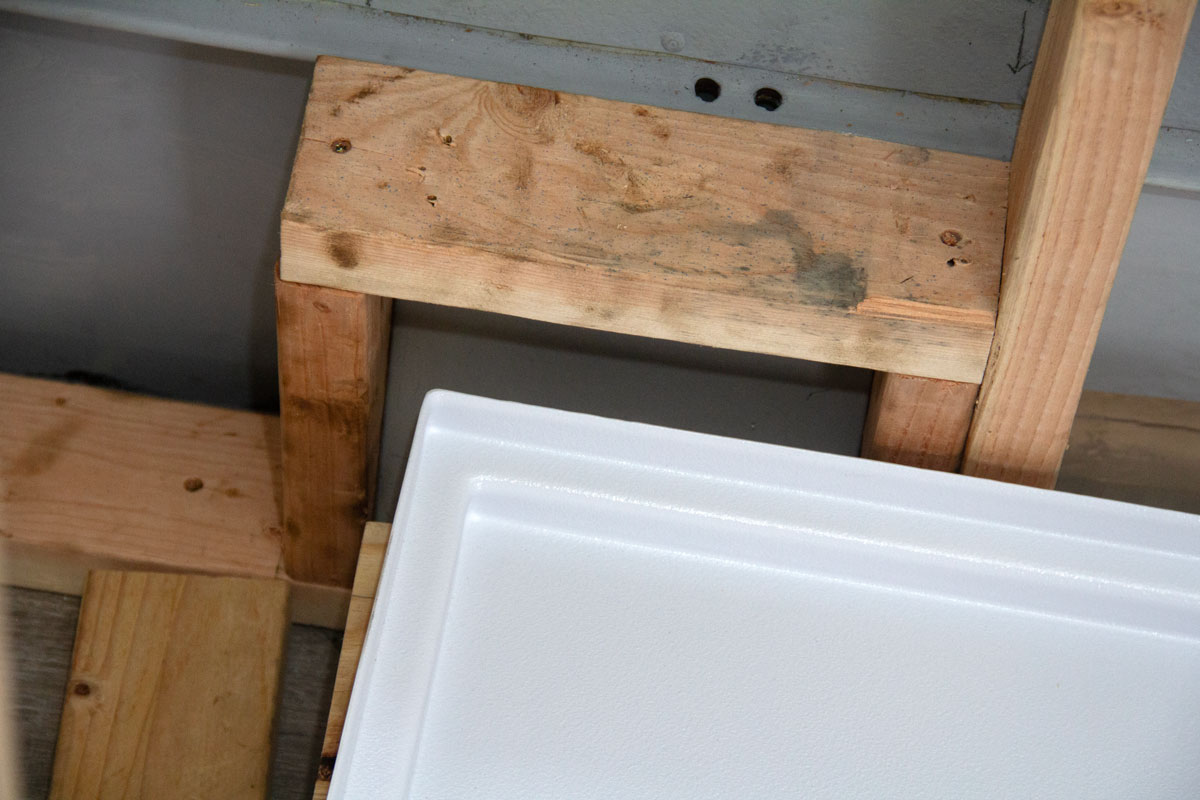
Tucked in behind the tub and under the 2x4s lies The Gas Hole.
Eagle Eyes landed it
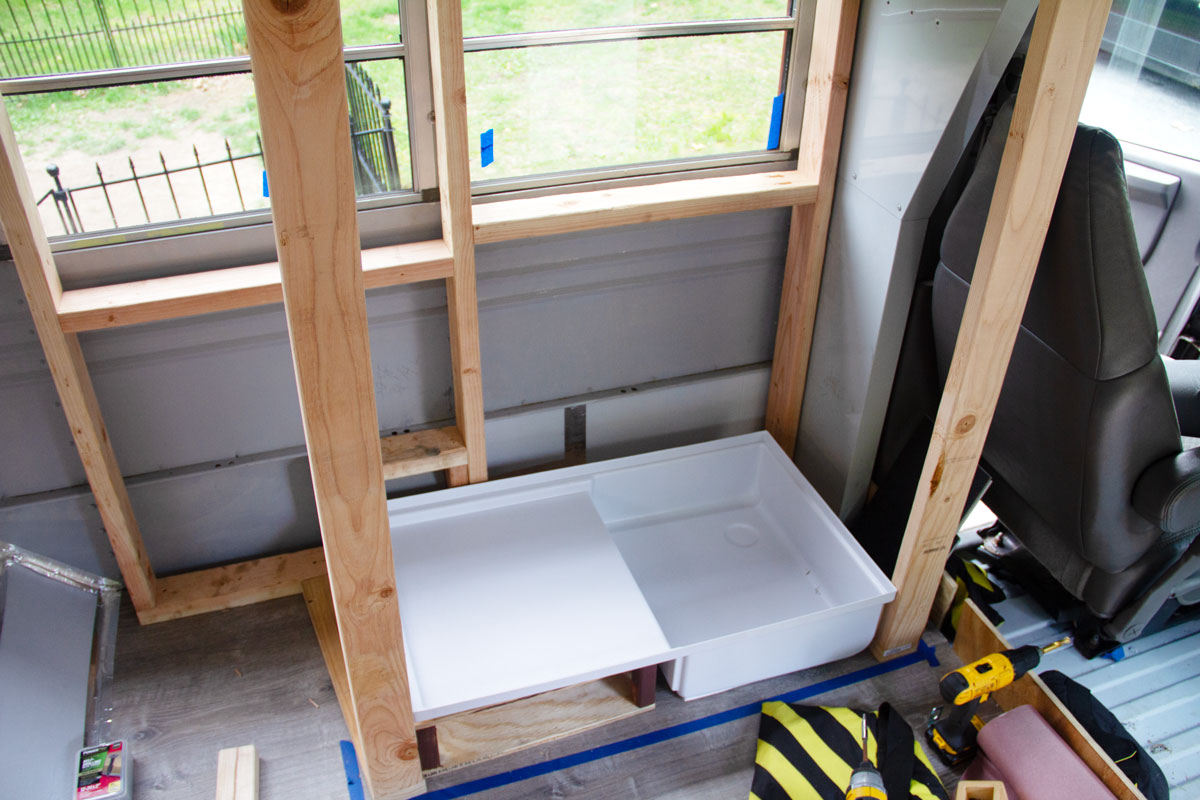
Lo, the time came. Discovery happened. Steph found that solution in a far off land! Yes, she found a double tiered pan that fit in the exact footprint we wanted. This one, in fact (paid link). This was fabulous because it had the lower part for standing and showering, then the second floor was perfect for plopping our cassette toilet on, which would then be all contained in a singular room that I think some people call a wet bath. The tub thing was a molded piece of magic plastic that had a nice flange to attach to the polystyrene walls, as well as a pre-determined indent to cut the drain hole. This thing had more synchronicity than a Police album in that the raised toilet section allowed us to build a little frame to support that section and that little frame also further blocked The Gas Hole from damage. Brilliant!
To build the throne support structure, we were able to use spare plywood cutoffs from the floor, and for risers, we used the old spindles we took off our deck railing when we rebuilt that a few years ago. Somehow, some way, I knew that I would use that wood in the future. Is it hoarding, or do I possess an advanced alien-like knowledge of seeing into the future? The latter is the correct answer.
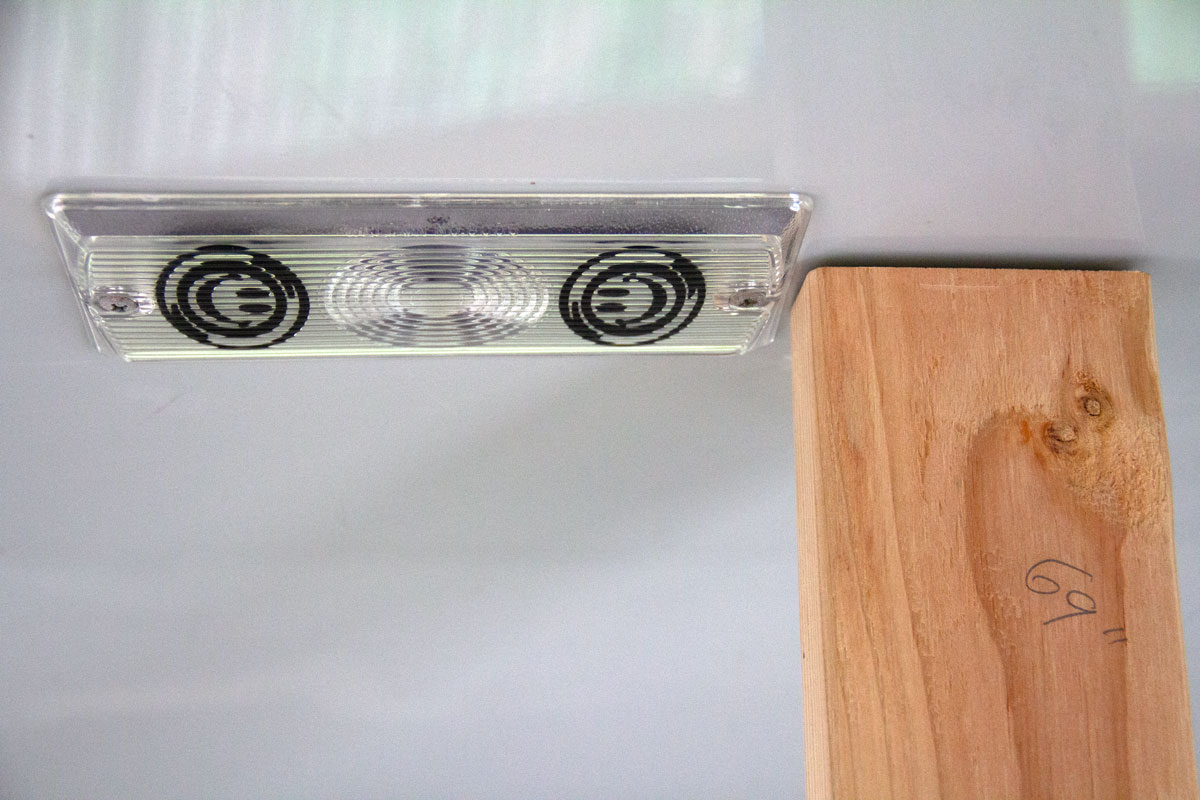
After triple measuring and consulting the This Old House Oracle, and after 852 attempts at cutting straight boards and angles in a round bus, we actually got some framing up and a basic location for the tub/bathroom floor. Along the way, Steph also found a tape measure — that we already had in stock — that actually listed all those algebraic equations right on the damn thing, like 1/4, 1/2, 3/8, etc. That was really helpful for the 9,000 pieces of wood we were about to cut for all the rest of the furnishings and interior bits. It would have been even more helpful if we had found it before we put up the last stud, where a conveniently located dome light sat right where the stud was supposed to land.
Do you know how hard this damn thing was to find? Yeah, me either. Steph found it.
See ya later public restrooms
Alas, up went the framing, securing a nice, solid structure to hang some walls and other structural bits to help further our cause of not having to rely so heavily on public bathrooms. I have always had a Niles Crane aversion to germs, but that whole pandemic thing made it a skosh worse (I won’t even sit in a restaurant chair that still has someone else’s butt heat permeating through the cloth). So the less time we spend in a public germ pool, the better!
Next Time: The exciting world of bathroom walls!
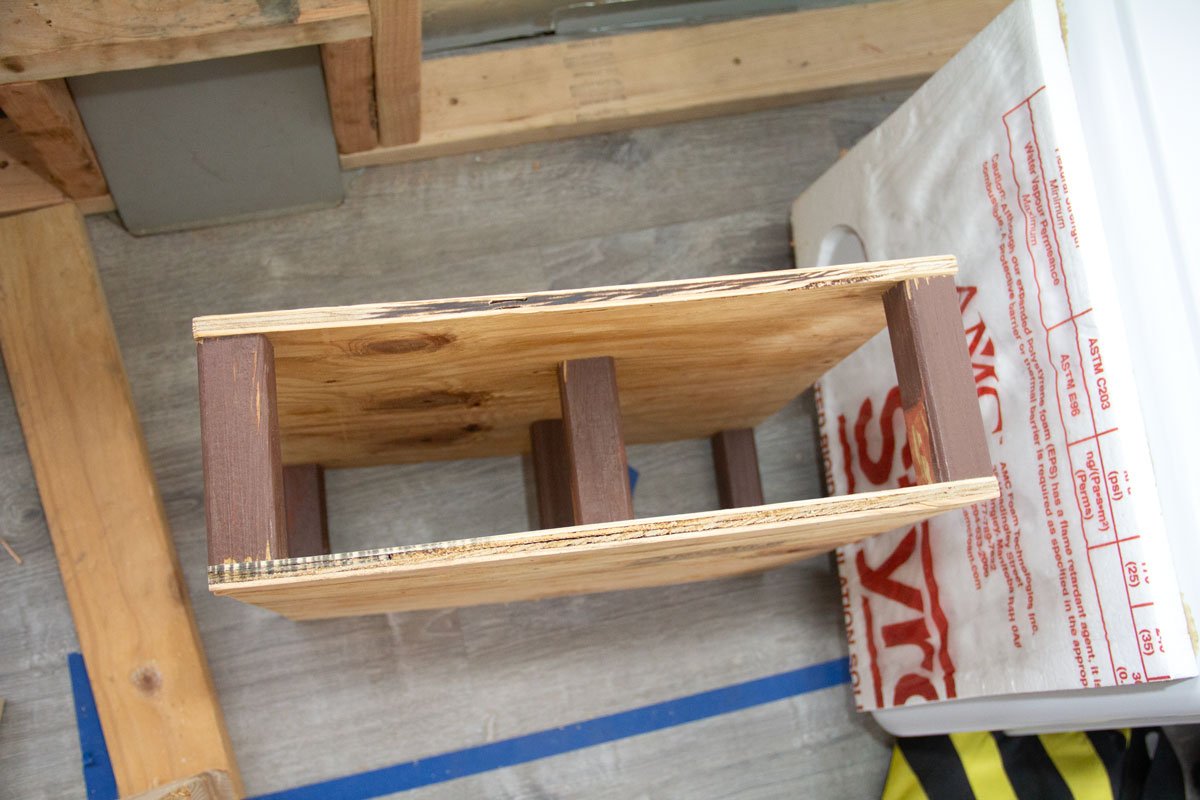
Luckily we had these fence spindles ‘in stock’ as it saved a bit of money and served to support the throne.
$#@%$! Why?
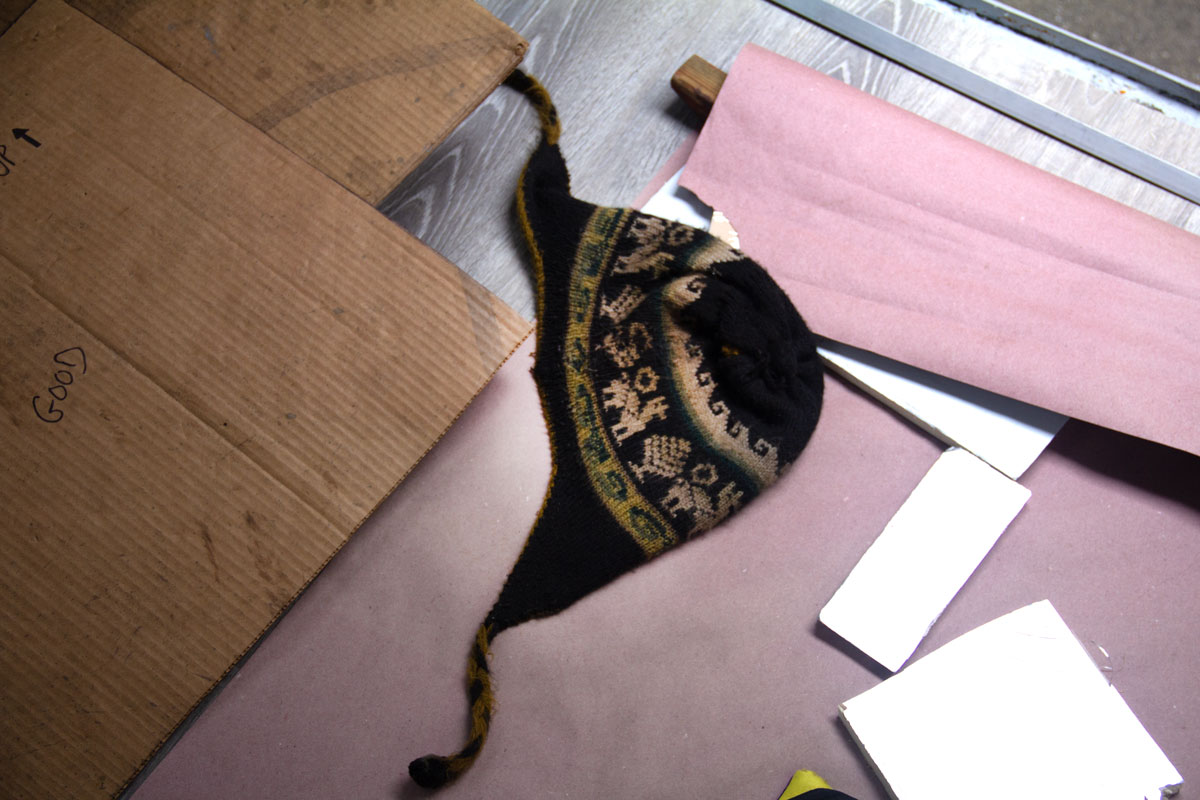
After the dome light got in the way, I had a 5th-grade level hissy fit and threw the hat Steph gave me from Peru straight to the ground. I’ve since apologized to the hat. We’re good.
-30-

Leave A Comment