Sometimes when it rains, it pours — inside the bus.
You know how we got that fresh new floor in and how snazzy it looks and all that good stuff? Well, we found out pretty quickly it’s also waterproof!
Last time I said we were moving on to wood, but not so fast. Somehow I forgot this little part, or at least tried to erase it from memory. Feeling rather chipper to jump into a new day of starting the actual wood part of building, which to me is much more forgiving, I clanged open the back door on a nice, crisp, New England morning, only to find puddles all over our brand-new floor. A puddle here. A puddle there. A puddle every @#$&ing where!
Nay, I said (only with more colorful words), what could this be? Per’aps, in our hasty rejoice, after finishing the floor, we had forgotten to put the windows back up, with that familiar slidey-slidey-clickety-clack sound. After a night of Forrest Gump rain, in this case sideways, the morning was clear, the inside was cold, and the floor was wet.
Right then the muscles in my neck stopped functioning, and with my chin on my chest, I sighed heavily in despair. Steph, similarly despondent, uttered the words I have since heard from many a skoolie builder, where is the water coming from?!?
After we washed away our existential crisis with a spot of tea, we dared enter the bus to answer that very simple question — where the @#$& is the @#$&ing water coming from?!? Despite the daylight, we armed ourselves with flashlights in a Witch-and-the-Wardobe type quest to find the missing link, uh, leak.
Leaky windows, dry ceiling
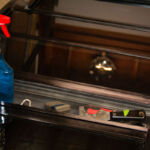
The good news was, there was nothing coming from the ceiling, which is a common place for old buses to let in some thunderstorms. So we probed further and found that the water was coming in from the window frames themselves, not any open windows. Drat! This was definitely one time I wished my noggin had forgotten something as simple as sliding a thin piece ‘o glass into the upright and locked position.
Ughs.

We removed all the confounded windows. Now the scraping begins!
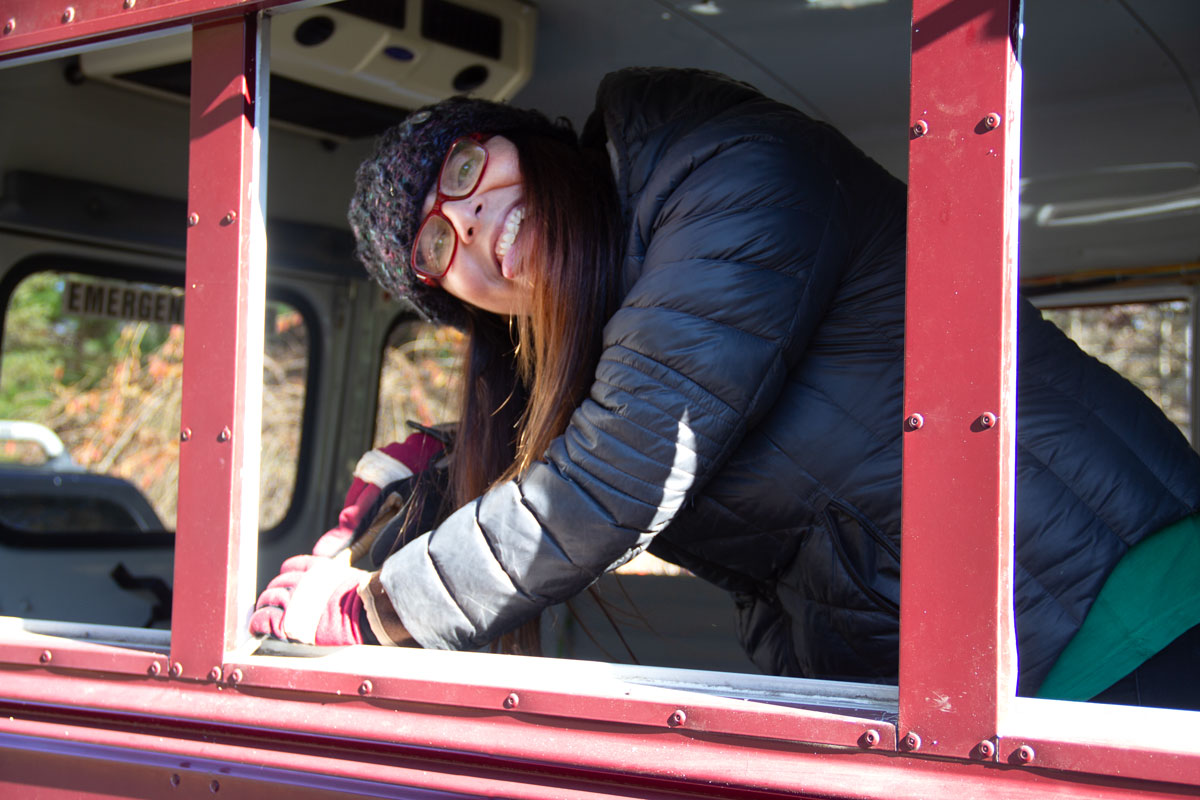
Secretly, I think we knew that we’d have to pull all the widows out to fix them, but also hoped we didn’t have to go through all that nonsense. Well the secret was out: We had to pull windows. All of them. Ten. Ten windows. That’s as many as we have on the first floor of our house!
After we did some deep research on the innernets on how exactly one removes school bus windows, we set about the transformation from sieve to stew pot. While the process, on paper, was very simple, restorations, which is half of what this bus was turning out to be, take a skosh longer than one might think.
The good news is, two of the 10 windows are emergency flip-out windows. They have a little handle at the bottom that let’s them swing outward to act as either a pass-through for snacks and drinks to the outside picnic area, or to scoop up the sweet sea breezes to help cool off the joint. The better news is that we could relocate those windows to the outdoor living room side, since we knew we’d be blocking off some windows with the bathroom and closet areas. We moved one wind catcher to the end, where the foot of the bed would land, and the other right next to where the sink would be behind the counter for easy chip-n-dip passing to the great outdoors.
In short, here’s the process to get these things out:
- Remove the two screws and washers betwixt window casings.
- Sigh, because it just gets worse from here.
- Cut the hardened goo all the way around the window frame.
- Cut that again.
- One more time.
- As gently and forcibly as possible, pry out the window from its earthly confines with a nylon automotive trim remover (paid link).
- When that doesn’t work, use a metal pry bar, but be careful to not bend or twist the window frame, or there will be hell to pay.
- Inch by inch, work your way around the frame with the prying tool of your choice. Patience is absolutely virtuous for this process. Pry a little, move. Pry a little, move some more. Cry a little.
- Seven to 14 days later, pop out that damn window!
- Celebrate the window in your hands!
- Panic because now you have a gaping hole in the side of your bus and you still have nine windows left and it’s mid-October!
Lo, let’s not panic just yet. While this process is time consuming and tedious, it’s probably thee best thing you can do to keep your bus as dry as a British comedian. So it’s absolutely worth it, and in a weird way, it was quite satisfying knowing that when we were done, we’d be ‘dried in’ and really, really be able to start building inside.

Steph goes bananas on the empty window casings. The clamps on the gutter held the tarp, which gave our bus a look from the movie Flatliners.
Once each window came out, we had to scrape the Sticky Putty (hardened, dry butyl tape) off the window frames themselves AND the gaping holes where the windows once lived. We double teamed this process of removing each window and scraping it down to bare metal in some spots. To get the best seal with the new stuff, you really need to have a clean, putty-less surface to then add new sticky putty. So one of us would extract the window, then hand it off to the other for scraping. To maintain some semblance of sanity, we would alternate these jobs to make it at least feel like we were doing different things. If there’s one thing in life I hate, it’s repeating the same process over and over again. If there’s one thing in life I hate, it’s repeating the same process over and over again. That’s why I rally instead of racing stock cars on oval tracks. In stock car racing, you see one turn a thousand times. In rally, you see a thousand turns one time.
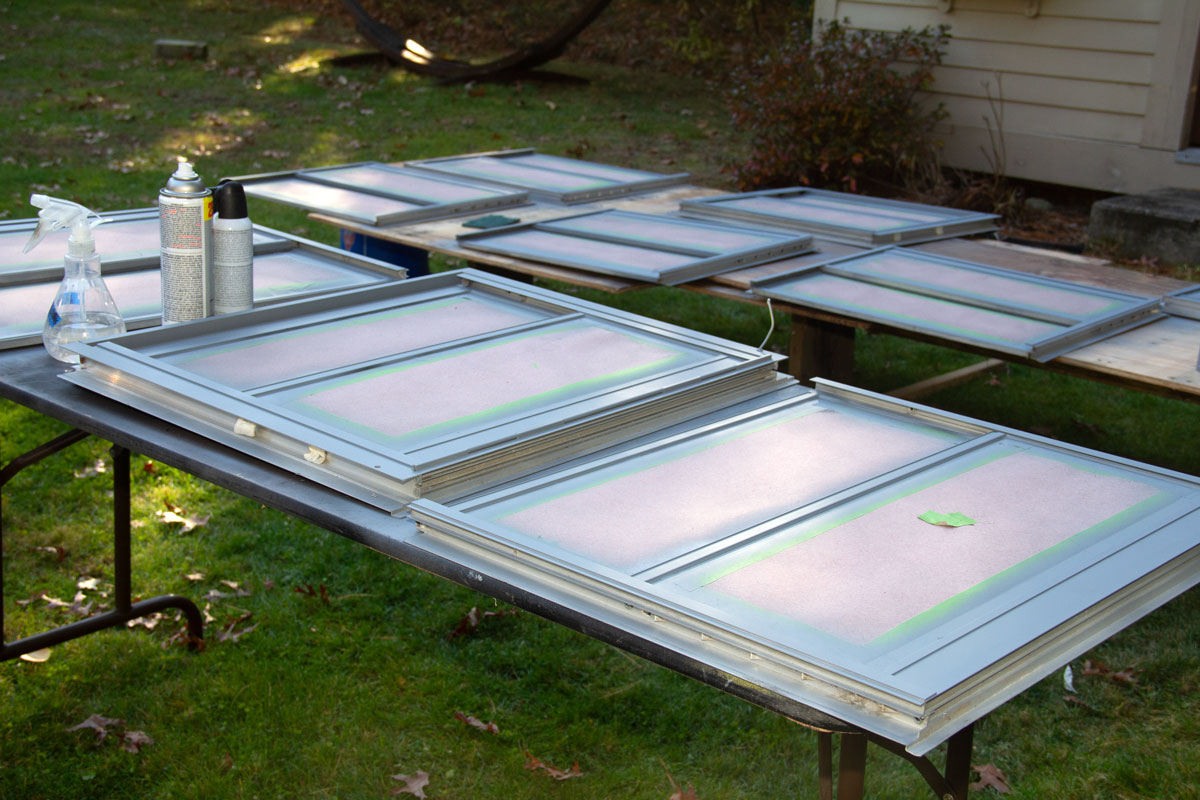
As we assembly-lined the the Sticky Putty off the windows, we also prepped them for paint by running some Scotch-Brite pads, or plain ol’ soapless steel wool, over the aluminum frames, then rubbed them down with some acetone to get rid of any slimy spots. After that, we taped up the glass so we wound’t get any rattle can overspray on these vintage specimens.
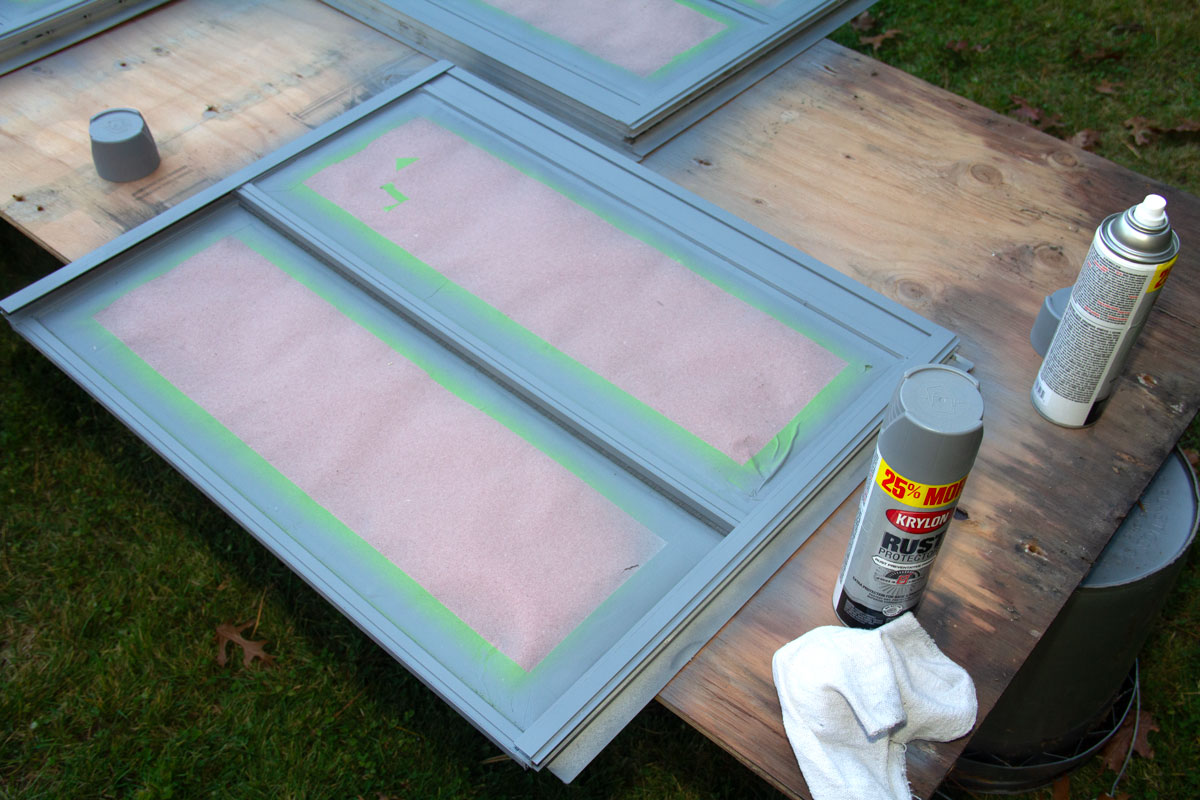
It only took 8 miles of painter’s tape and 23 cans of primer to get to this point.
In reality, this project took a couple of weekends, with a couple of nights in between. Wrestling Sticky Putty off of 20-year-old windows takes a little time, as well as the prep time for painting. In the meantime, we did get a few rain storms. To prevent our fabulous new floor from flooding, we attached some super sexy, neighbor-pleasing, well-used blue tarps to the rain gutters using clamps, Vice-Grips, baling wire, and hope. That kept the rain mostly at bay, until we had some up-from-the-ground Forest Gump rain. We did check and wipe up any puddles every day, as while the floor was waterproof, the plywood underneath was not, and we didn’t have anything built yet to cover up the space between the floor and the walls. I don’t know whether plugging the holes in the dyke, or shoveling sh!t against the tide is the more appropriate metaphor here, but you get the idea.
Paint Magic
Once them winderrrs was cleaned up and taped off, we primed them with Krylon Rust Protector (paid link) and when that dried in about 15 minutes on that nice, clear, dry day, we then hit them with a few coats with our go-to Rust-Oleum Satin Protective Enamel (paid link). We let the windows sit outside all day after the last of the two coats, then we brought them into the garage to cook a little more overnight before trying to slap them back into the bus.
The garage got a little crowded with a John Hancock Building’s worth of glass in it, so we set about applying fresh new Sticky Putty. This stuff, called Dicor Butyl Seal Tape (paid link), is a magical, waterproof, flexible, super-sticky tape, with the consistency of Laffy Taffy. It comes in rolls and seems to have the weight and density of a burned-out star.
This might not look like much, but this stage was very exciting.
Tape Down, Windows In
Again, simple on paper, here’s the gist of how to get the windows back in:
- Make doubly sure you have removed all the old butyl tape and any other schmutz that might impede a nice seal (no one wants to do this job twice).
- Cut lengths of the tape with scissors that will never need to cut paper again.
- Place the lengths in the casings as flat as possible, paying attention to sealing and overlapping the corners.
- Smooth the lengths into each other, as if it were single piece of Sticky Putty.
- Grab a freshly painted window and slowly, but firmly wiggle the thing back into place. You might experience some resistance in the install, but conjure up that patience thing again.
- Once installed, take a step back and make sure it’s as even as possible, wiggle here, wiggle there, just make sure it wiggles where you want it to land.
- Do a cartwheel, clink a glass, and take a moment to realize that you are on the path to being dried in to your new cottage on wheels!
- Make sure your emergency flip-outs are where you want them, because if you think old Sticky Putty is sticky, might I introduce you to brand-new Sticky Putty.
- Pour caffeine directly into your eyeballs, then get the other nine windows done!
So that’s that. Well, almost. Once you finish all those windows and they’re seated properly, don’t forget to put those screws back in! Chances are the windows wouldn’t pop out with all that Sticky Putty, but they do hold them in place and keep the seals happy.
Seal on the inside, seal on the outside
Once all of that was done, we still had to caulk around the windows on the outside of the bus to further prevent any rain finding an in that way. We were lucky enough too to find some black caulking to match our windows, so it didn’t look weird with the final paint color.
A quick note on the back windows, those puppies are held in with just rubber gaskets, like an old BMW windshield, no glue or Sticky Putty needed. Thankfully, ours were not leaking, so we didn’t have to touch those!
All right then, so maybe next time, we’ll actually-actually get to the wood parts!
-
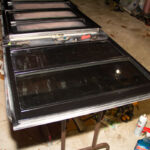
- Ah, the transformation!
-
- Here’s what the finished product looks like.
-
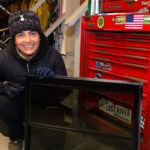
- Either it was the paint fumes, or we were naturally giddy after finishing off the last of the windows.
-
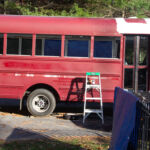
- Another Flatliners scene.


Leave A Comment