Ughs. We thought about, for more than several moments, that we were just going to slap a new floor over the old and let it be done. We were on a mission after all. As much as a massive hassle this was to remove, we were glad we went the distance to pull up the old water-soaked rubber and plywood floor. Here’s a hint on how bad it was: The rubber part was the easiest.
Most of the rubber came up lickety-split, leaving the plywood to pull up right after. As soon as the rubber came off, we noticed that the plywood in several areas had started to rot and mold over, particularly near the back door, right where we decided to build our bed. So, that was the good news. The only good news, let’s say.
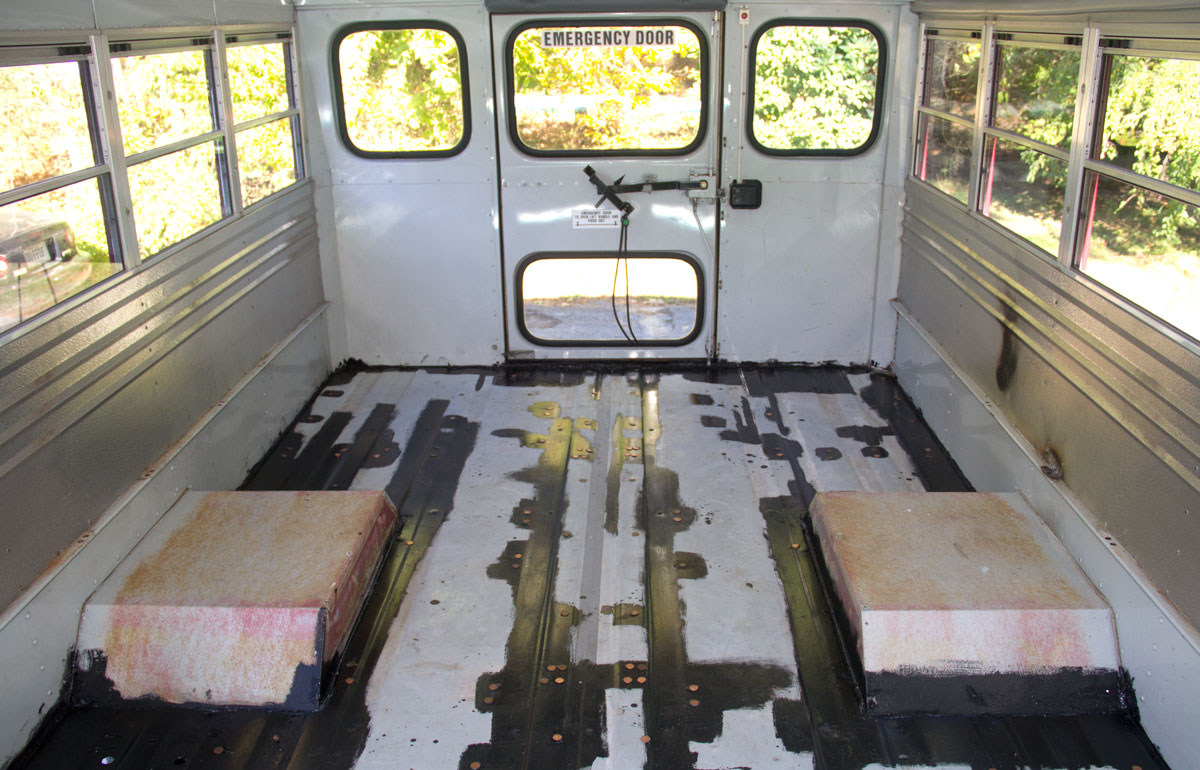
Post POR-15 and pennies, pre-primed and ready for the rest.
The plywood, though a little more difficult than the rubber, came up relatively easy as well. Note to the newbies behind us: Save the plywood, as gross as it may be, to use as a template to slap down the new plywood and any insulation you might be using. It helped – a lot. For those of us who have an aversion to tape measures, angles, and other geometrical things, a free physical template is a great thing to hold in storage. For later projects, we also used the old, good sections of the floor, to make other templates and practice pieces for things like those $#%&in’ curves in the bus ceiling. More on that later.
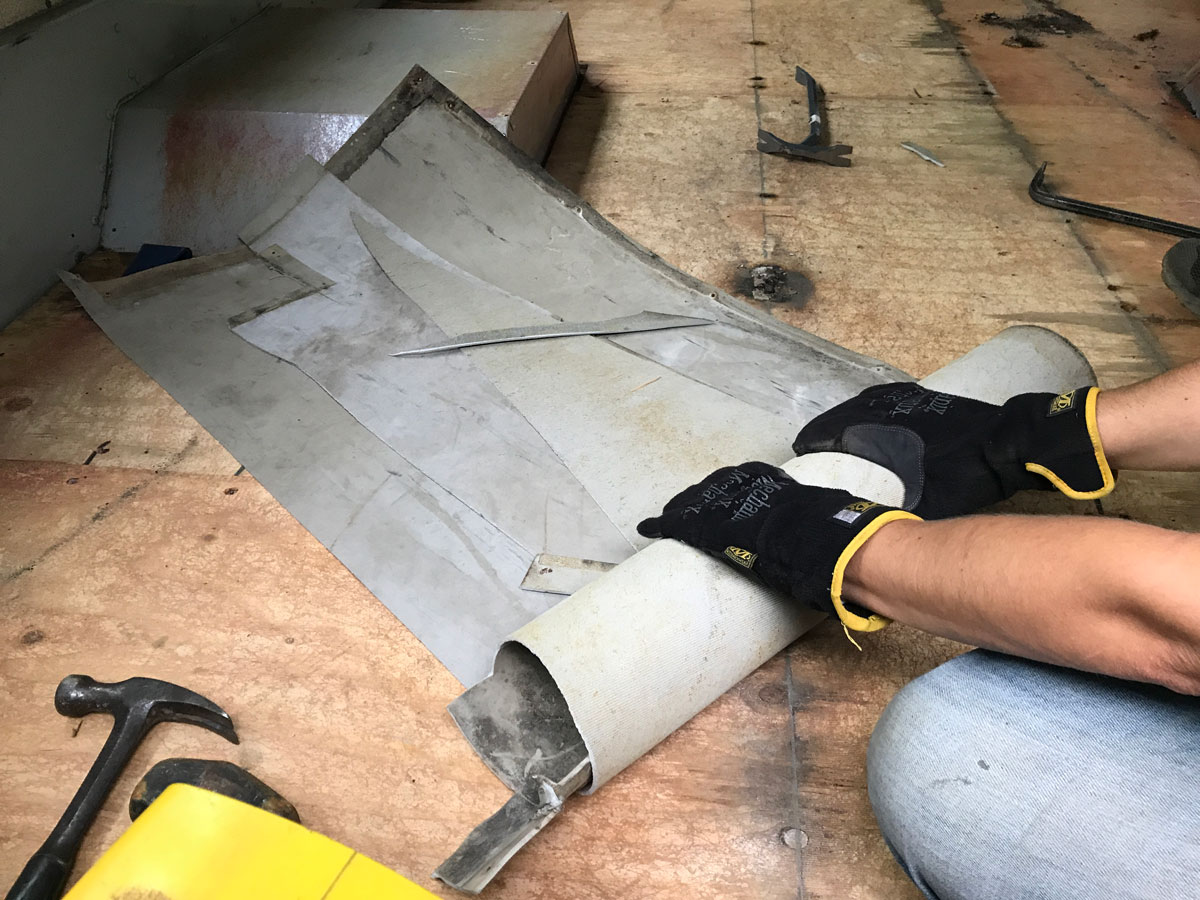
Phase 1, done.
If you Googulate ‘skoolie floor’ you’ll see that we did what many others did. We covered the seat holes with pennies, which makes for a great, cheap seal. We used silicone to seal the pennies, but we later found out that might not be the best way. Try a waterproof adhesive that’s not silicone based. We POR’d the bejeebus out of the rusty bits in the rear of the bus as well, and primed the whole thing.
I’m a tall feller, so when we went to start re-flooring, we chose only to do a half-inch each of rigid foam insulation, half-plywood, and quarter-inch waterproof LifeProof flooring. We lost about three-quarters of an inch of ceiling height, but to me, it was well worth the effort. We’re not living in this bus, but I think we’re good for a solid three-season number.
We were also going to leave the cab as is and the stairs as is as well, but then we thought, hey, if we’re gonna do it, let’s do it. So we started with the steps, since they seemed like an easy first target. Let’s just say that I had a go and gave up in complete frustration, then Steph went full Maniac Mode and tore up all the rubber and a layer, unbeknownst to us, of steel on each step that was not only glued and riveted, but also rust-welded to the base. Steph also taught me a few new good words that day too!
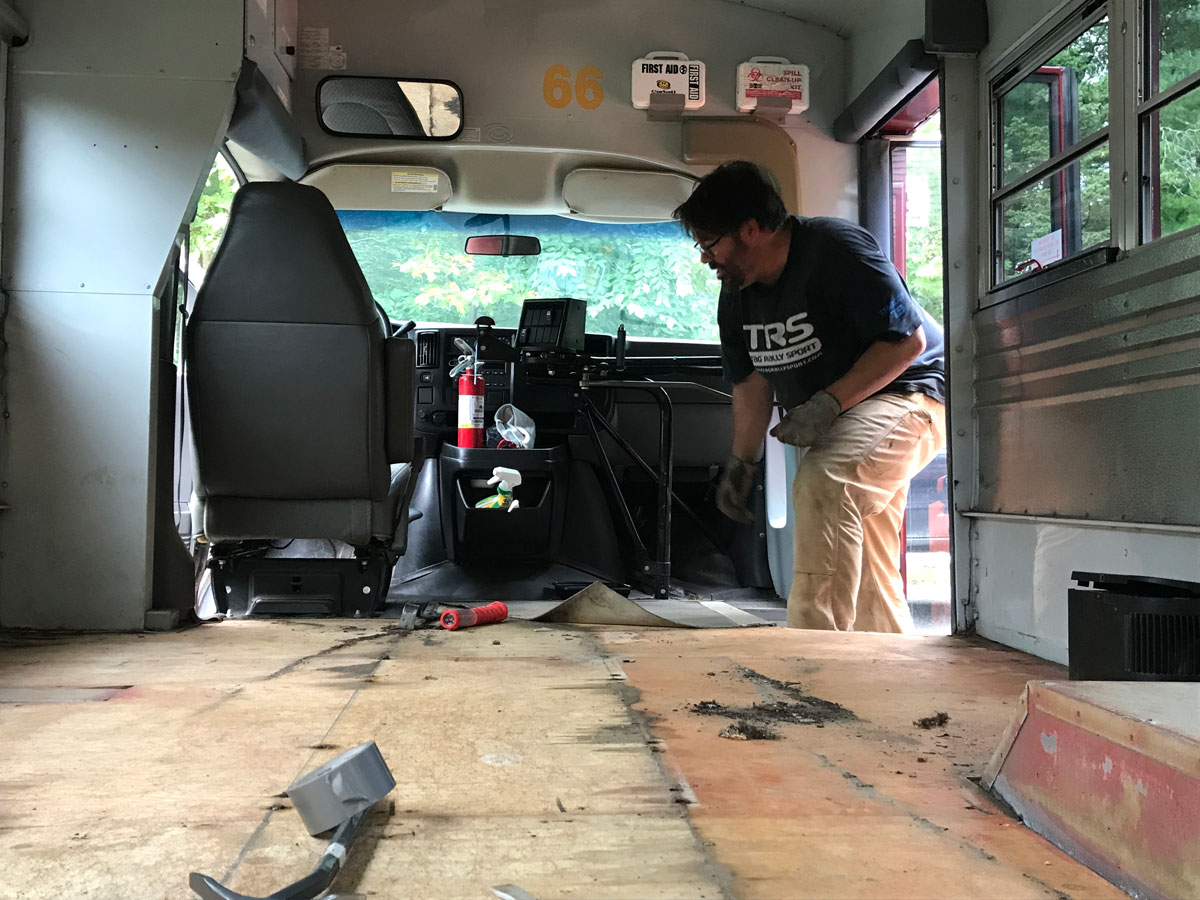
Once the steps came up, we removed the driver’s seat and pulled up the rubber cab mat and nearly lost all gusto for the rest of the project. Rust – again – had plagued us in unusual areas. In the middle of the bottom step, ok, that’s normal. Then up a little under the floor plan where there isn’t even a seat or muddy, salty shoes. Then a rust hole clear though the wheel well to the tire, in the corner of the steps, on the driver’s side under the brake pedal, and again even in the driver’s step well, under the plastic step cover.
Make. It. Stop.
Can’t we just get on with the fun stuff?!?
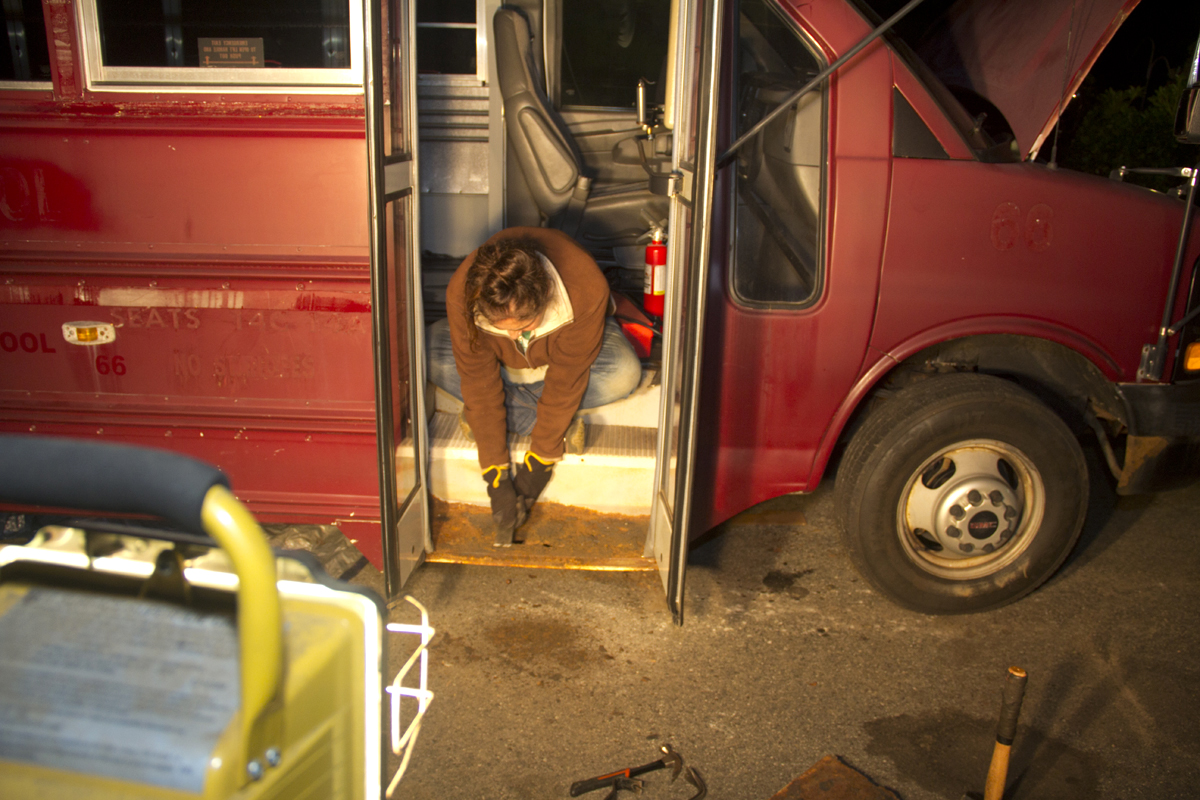
Steph goes full Maniac Mode and busts the step loose.
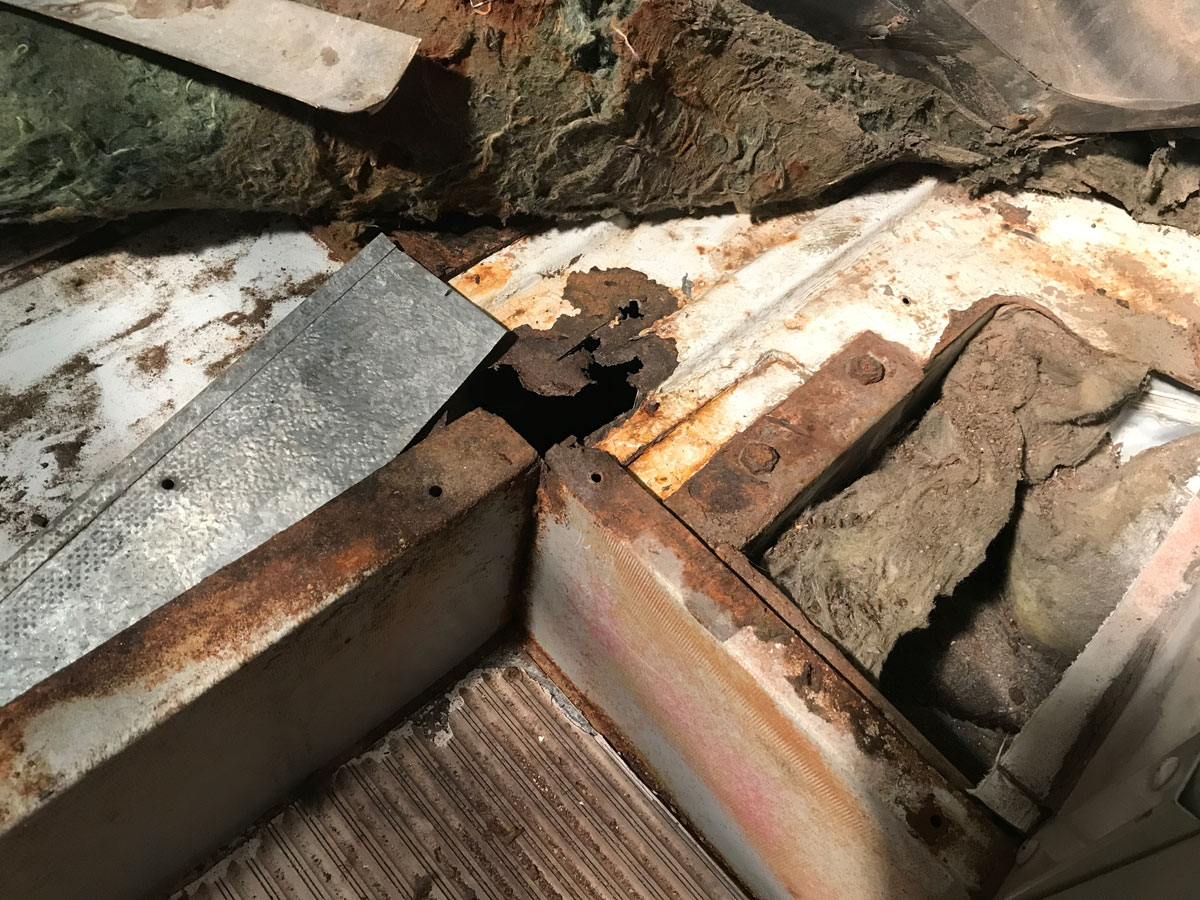
Everywhere, rust. This is in the passenger stepwell.
Again, we busted out the grinder, wire brushes, sandpaper, vacuum cleaner, POR-15 (paid link), primer – and our steely resolve. We encapsulated the rusty bits as much as possible and hoped for the best. For the holes in the steps, we used a Fiberglas product from Bondo (paid link) to shore up the holes. The passenger side step, we also riveted in a new piece of sheet metal, since that was the main entrance area. The Fiberglas and sheet metal did the trick, but now the Fiberglas makes a delightful, pinching squeak every time we go in and out. Now that wouldn’t normally be an issue on a camping trip, particularly just a weekend, but in this case, we go in and out about 3 million times during any one building/fixing job. It’s a thing.
We have plenty of more pics and details about how we fixed the floor issues, but even a year on, it’s still ‘too soon’ to write about in depth. But if you have specific questions, drop us a line and we’ll do our best!
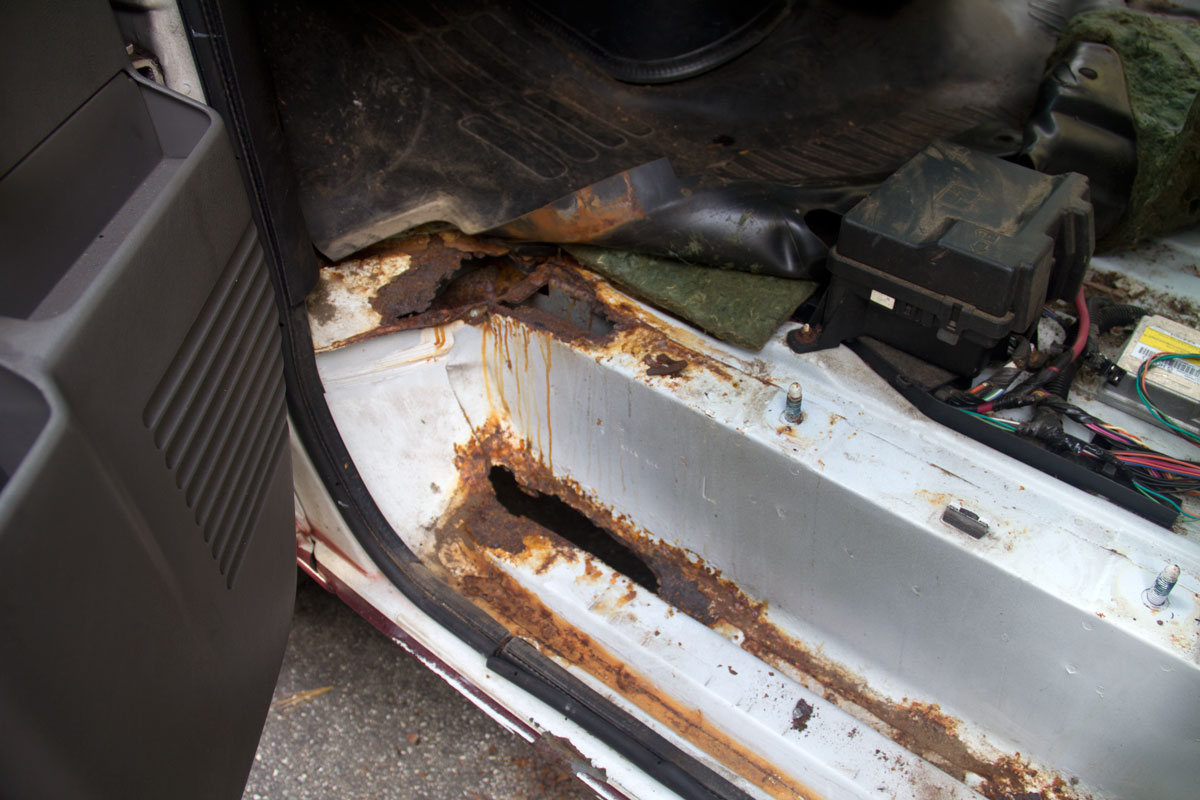
Surprise! More rust! This is in the footwell of the driver’s side.
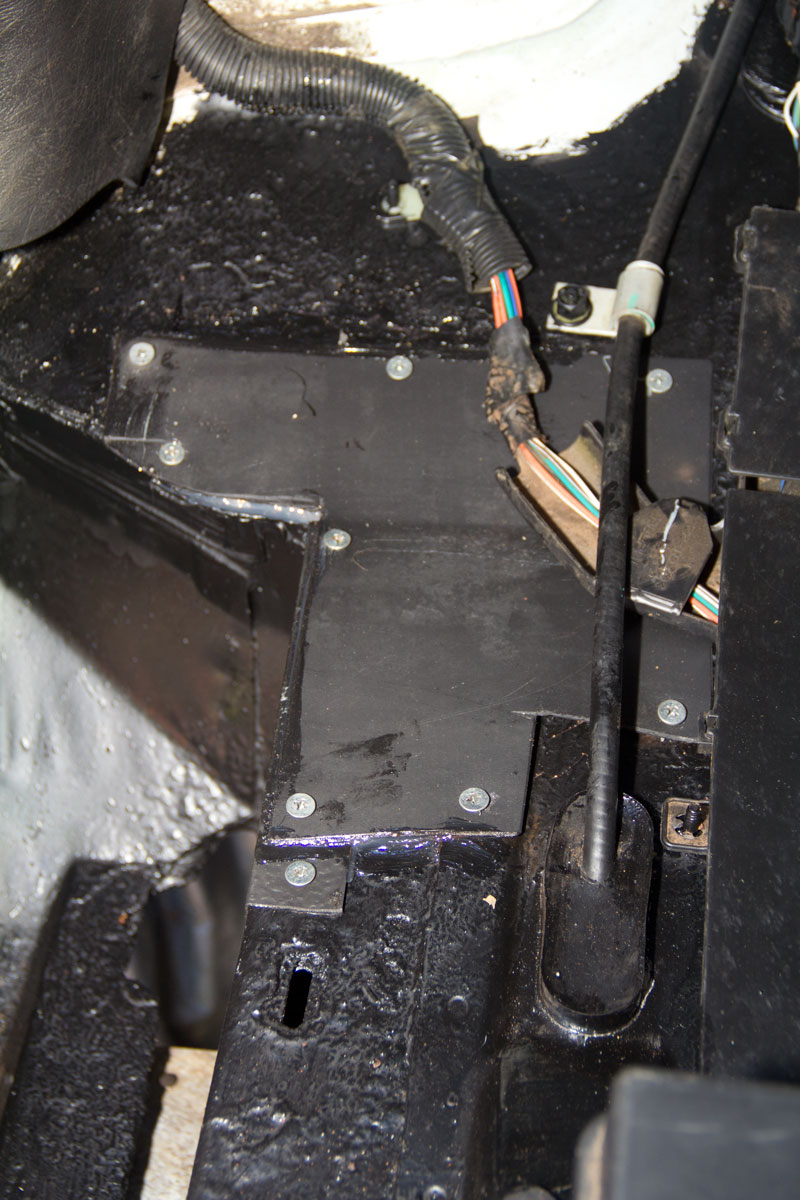
Driver’s side all patched up.
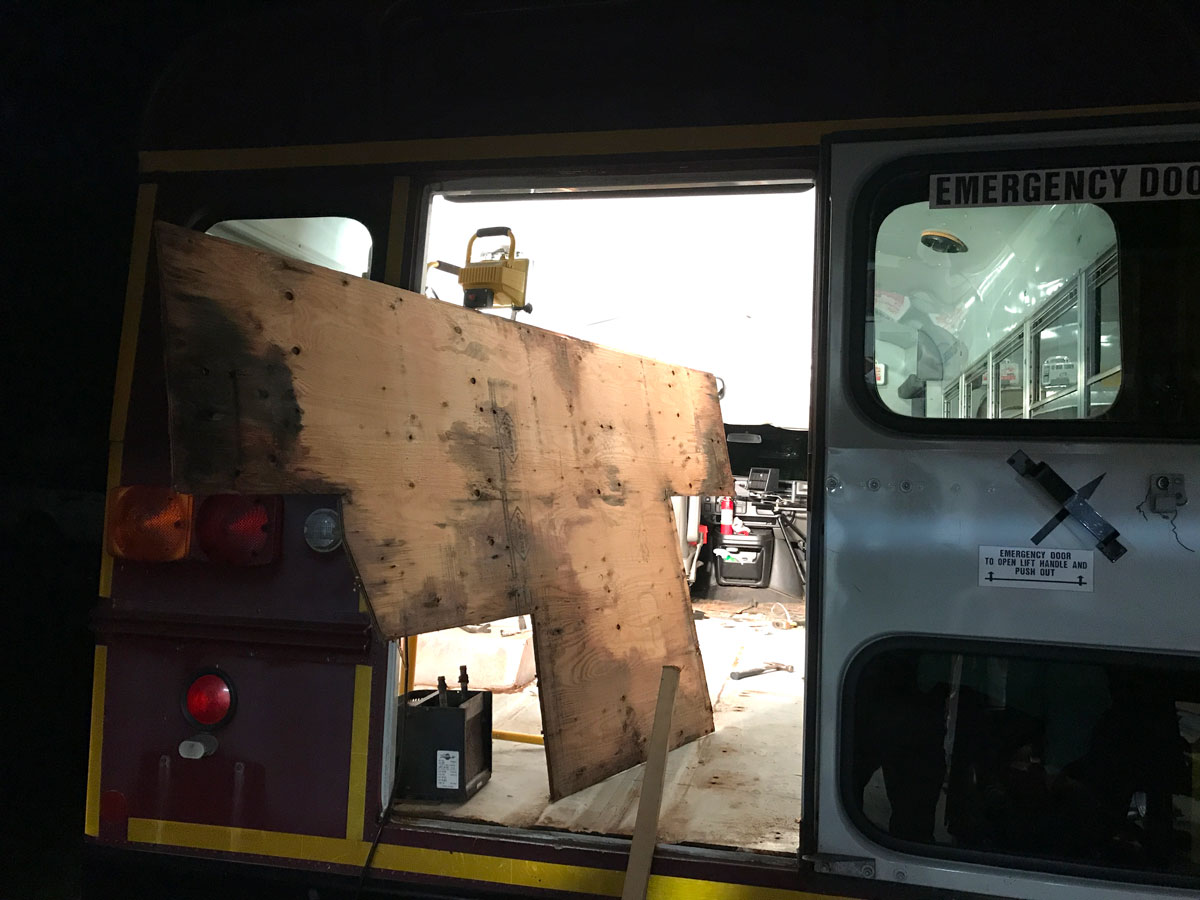
Here’s a good, albeit moldy, plywood template for the new floor.
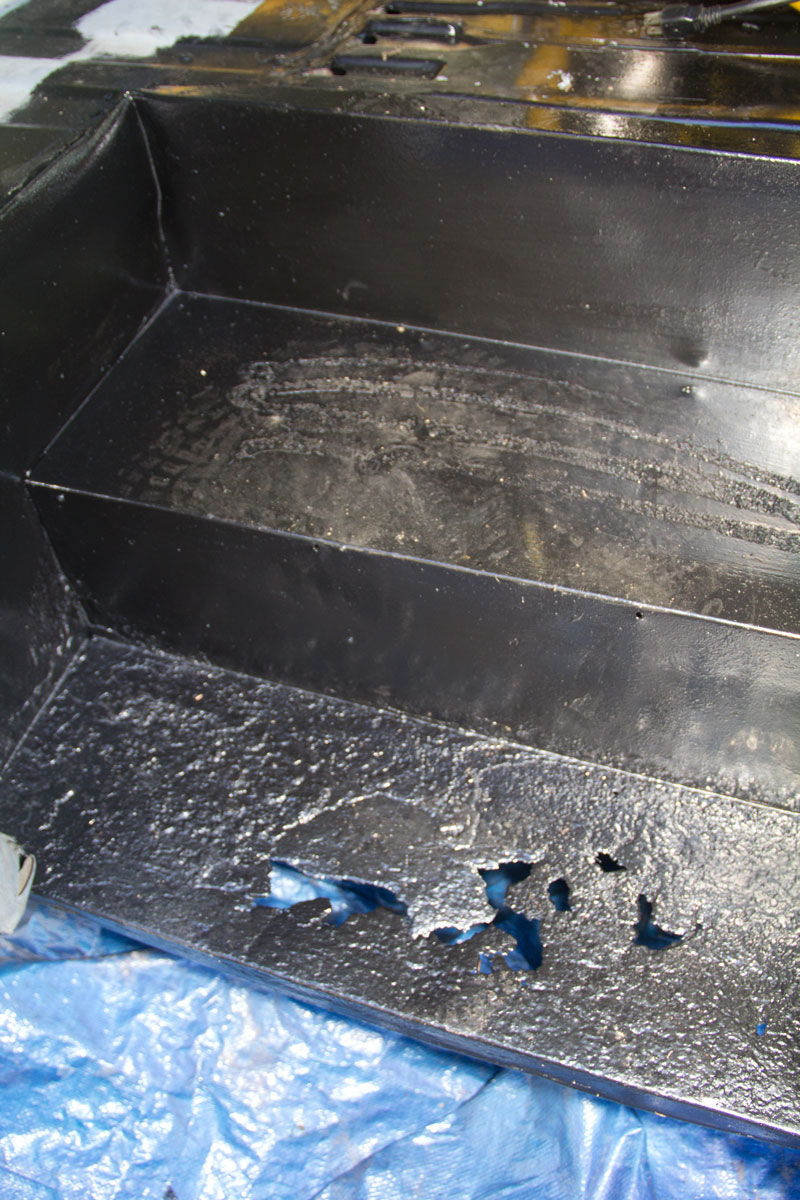
Here’s the step after the POR-15, but pre-Bondo Fiberglas kit.
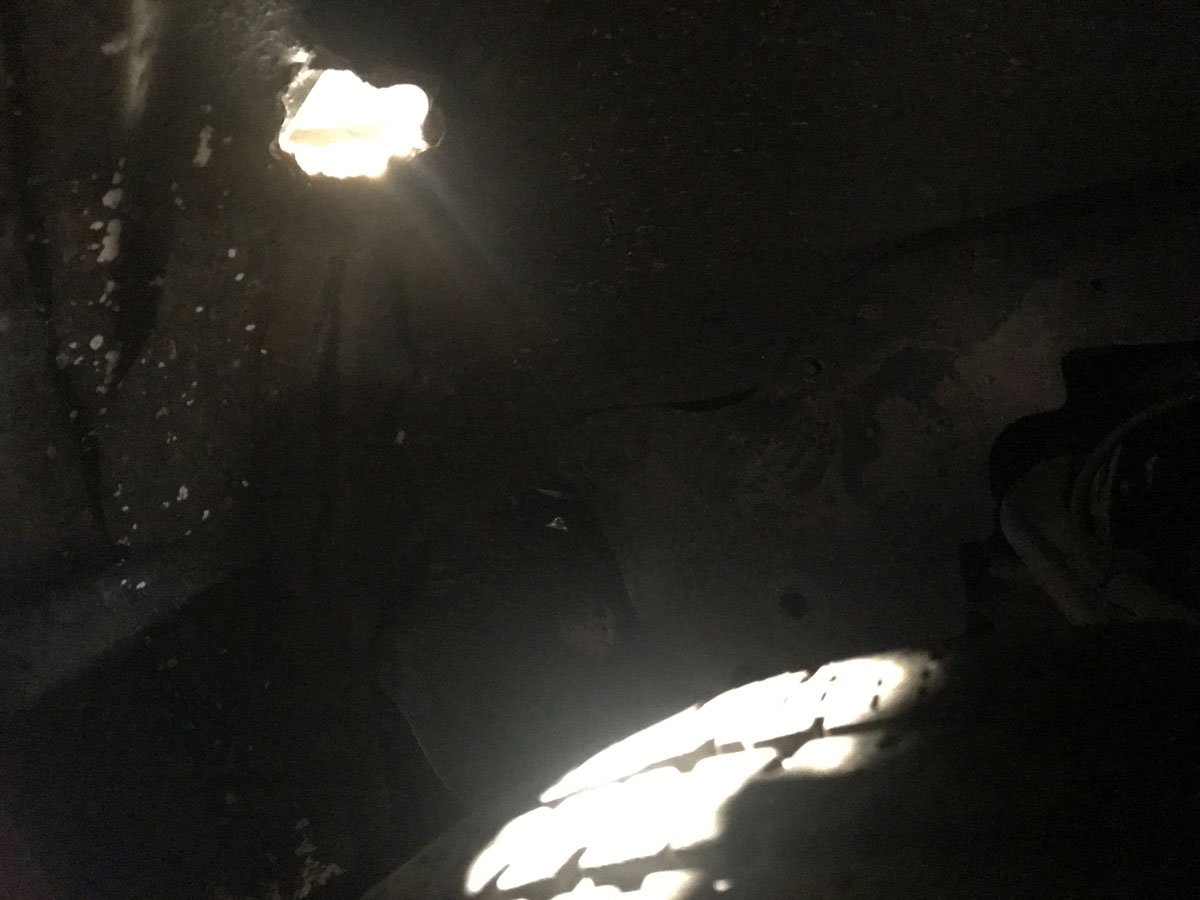
The light doth shineth througheth to the tireth.

Post POR-15 and pennies, pre-primed and ready for the rest.
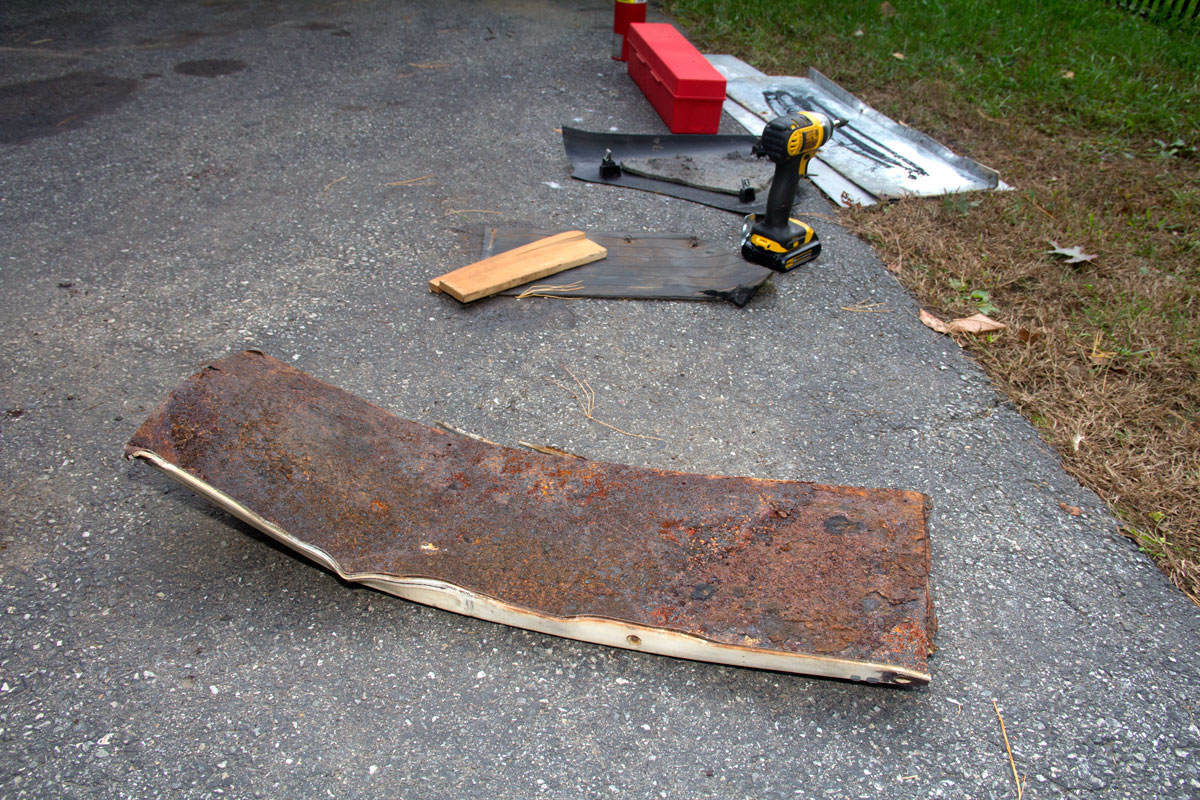
Maniac Mode took care of those rusty steps.
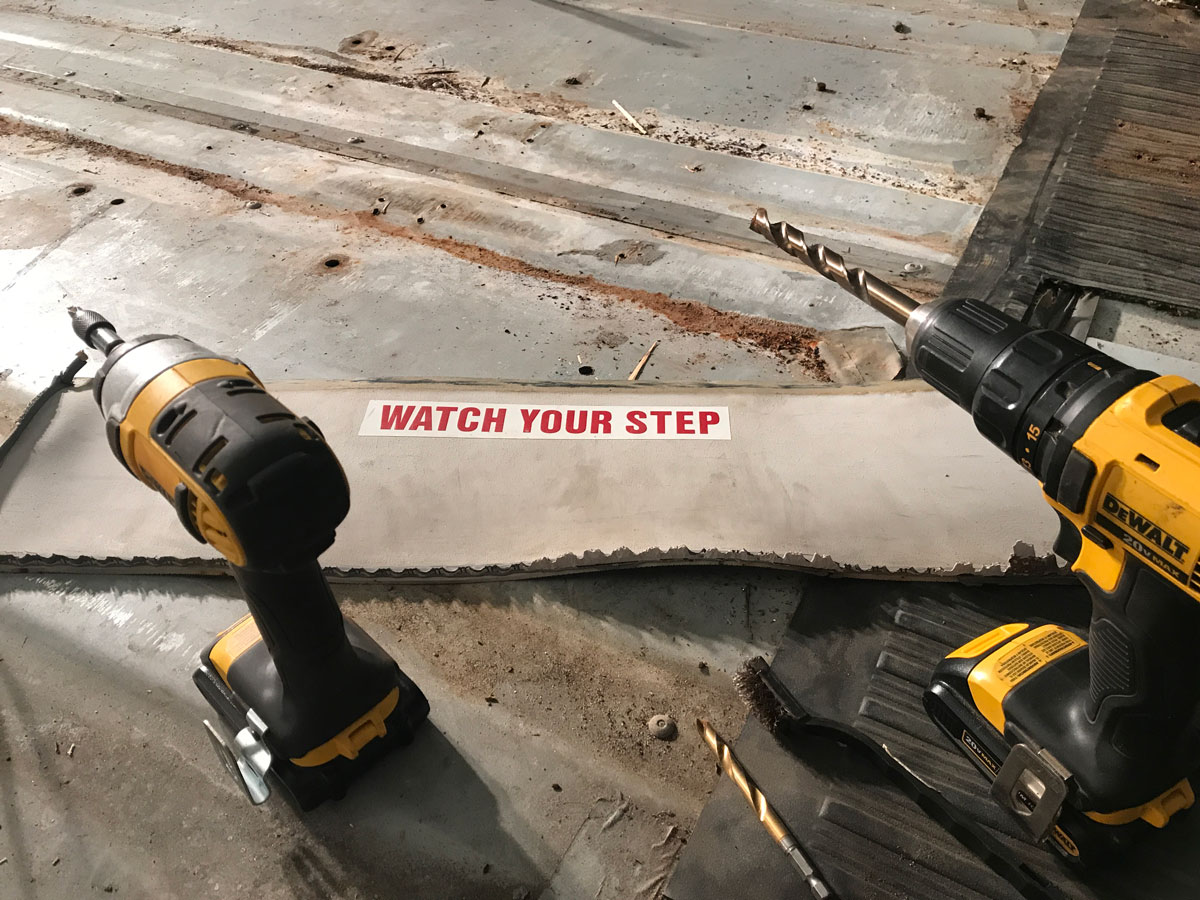
This kinda says it all.

