Allrighty, now that we’re back from the tour down Memory Lane, let’s build some things that don’t require curves, like walls and a kitchen!
Steph and I both like to use stuff that’s already existing whenever possible. We have a few good reasons for this: Cost savings, the funkability of repurposed and upcycled pieces, and the fact that those things won’t end up in a landfill. One exception was the structural lumber and the panelling we used, in addition to all the screws. New lumber, to me, made things easier to get a handle on, like why not start with straight materials in a less-than-straight bus. And while I have metric tons of hardware in the basement, the ones I have are never, ever the same size, quality, or take the same bits, so new it was there as well. Believe me, I would have loved to cut up some pre-existing plywood during the Plywood Craze of ’23, but we just didn’t have any laying around.
All of that said, we did use something old (and new) for our kitchen cabinet and countertop situation. The base cabinet came from our old house in Cranston, RI. The original owner, presumably from the ‘40s, as the house was built in 1942, crafted a small work bench out of what looked like scrap lumber from the house building process. Cut from the same cloth, I’d say. The legs are an odd dimension not from today times, the top was made out of the same wood as the floorboards in the attic, and the doors were made out of the same wood from the siding. The original paint was like a light mint green and white. Pretty cool. So let’s use that, we said.
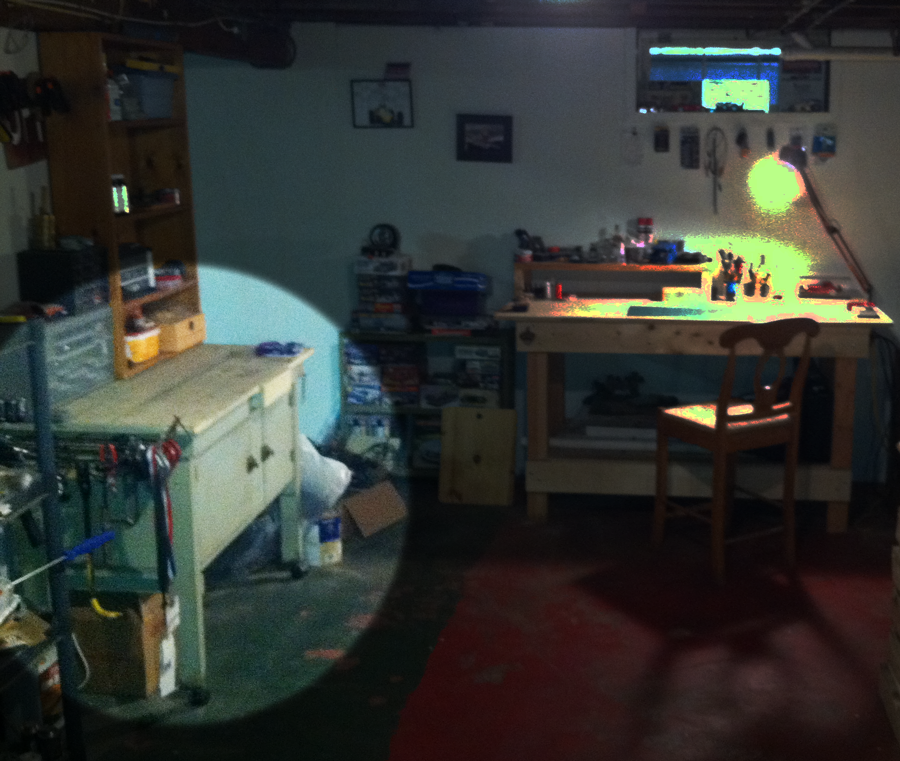
Here’s the old cabinet, as seen in its original habitat.
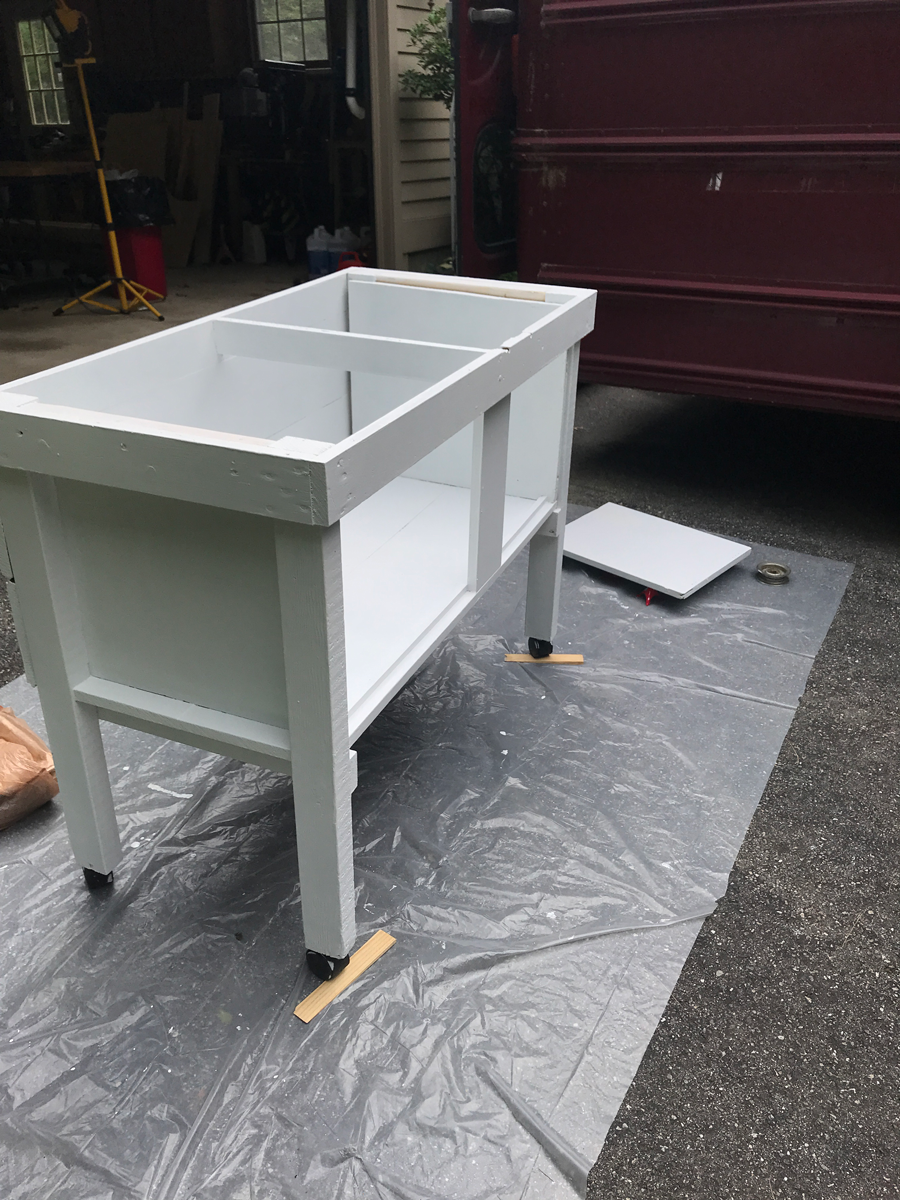
Here’s the cabinet after Steph started bringing it back to life.
Miracles at the Big Box?
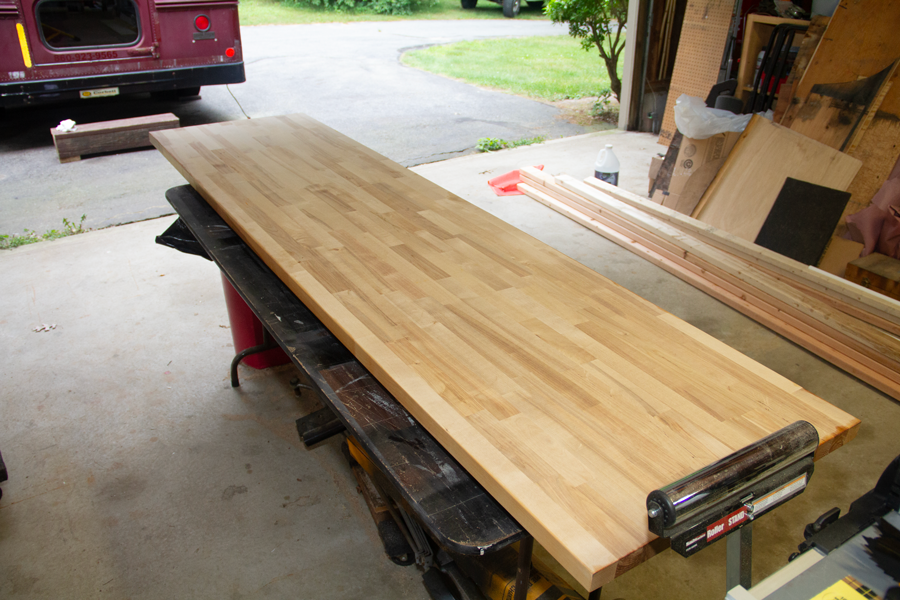
For the countertop, well, let’s just say that this might just go down in our Never Pay Full Price Policy (NPFPP) as one of the best deals ever. We were a-sauntering in Home Depot one fine day, there to look at bus related things. Steph had wandered to another aisle, while I went to look at butcher block. We wanted a long counter for the space and open-concept feel, as open as one could get in 90 square feet. Our preferred size turned out to be about $300. My understanding is that because butcher block comes ‘raw’ with no sealant or anything, it’s supposed to stay wrapped in its plastic until you can get it home, rip it open, and immediately slather on some sealant made from bees. Wait, not from bees, by bees. We like bees and all their hard work. Go bees! After the slather, you should also oil the top annually, with food-safe oil to keep it happy. As I cruised down to the section, I saw one that was very long, but was missing its plastic. It was also missing its $300 price tag, and it was marked down to $250 for this reason. I found it, man. A deal usually only Wifey can pull off! She taught me well. But wait, there’s more!
Seeing this miracle, I sprinted through Home Depot to find Steph, as if I had just scored an Atari 2600 and a Cabbage Patch Kid for Christmas. I couldn’t wait to show her this absolute find. I found her looking at something dumb, like hand towels, then dragged her to the butcher block section, so she too could partake in the Dance of Joy!
Well, in the time I took to go get her and bring her back, someone had taken our countertop! Bastards! It was missing. Ughs, the rise and fall, the triumph and trauma, the good, the bad, and the ugly. I just wanted to go home, but we had to get other stuff too. Wandered our separate ways, we did. She probably went back to hand towels, and I went to something fun, naturally, like power tools.
Several sad minutes later, we regrouped and started heading toward the register. I said something about being bummed out by the counter again, and she said something like, well let’s just go look at the other ones and see what’s what. Wait a minute, was she thinking about going against NPFPP and paying full price?
Something old, something new, a smokin’ hot deal, just for you!
Back in the counter section, behold, as if a warm museum halogen shown down upon the exhibit, the countertop was back! Our countertop! My pulse quickened as I moved closer. There was a new tag taped to the front — and the price dropped to $200! No. Way!
Way. We go up to it and start looking at the specimen, scanning it up and down; is it straight, does it have scratches, is it well built, that sort of thing. We did find a couple of gouges and splits, ’checks’ the pros call it, but those were on the parts we would cut off anyway. Just as we were pointing out the blemishes to each other, Steph found a Home Depotist asked about the blemishes. “Oh, yeah, you’re right,” she said. We’ll call her Julie. “I can take $50 off, would that be OK?” Well yes, that would be flippin’ awesome! She disappears in the back and comes back with a fresh tag, a clean $150.
Stoked we got such a deal, we headed the register. When we got there, the cashier was having trouble ringing it up, something to do with the UPC or the new price, so she calls and Julie comes back, chats for a few seconds, then says just put it in as ‘wooden shelf’. So the cashier puts in the number that Julie gave her and the counter rings up at $35! Thirty. Five. Clams. I needed my opera fan for such a deal, I almost passed out. A $300 countertop with a few blemishes for $35? Thank you Universe!
Big Box, Big Score.
Sealing the deal
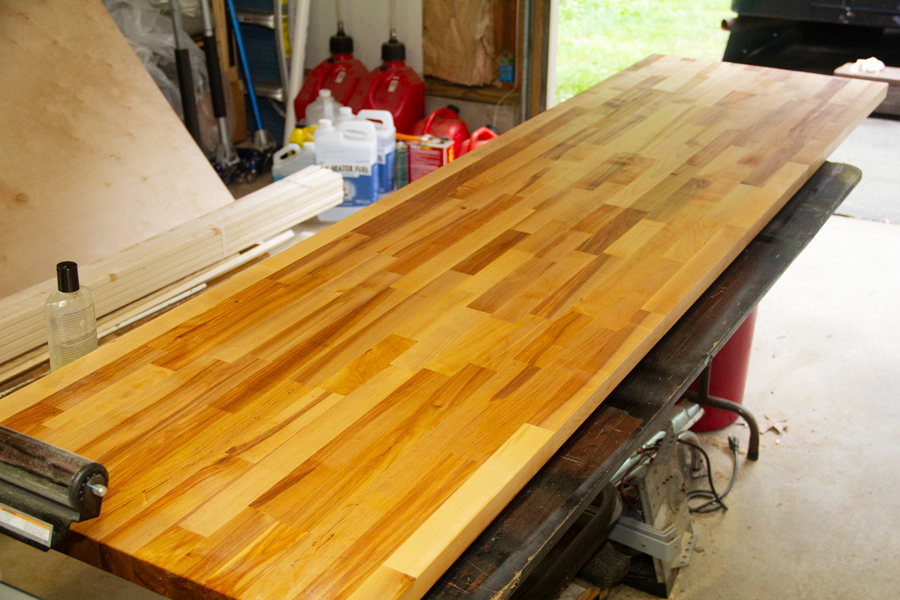
Once we got our newest unit home, we had to sort of rush to seal up the block so it didn’t get away from us. I did a light sanding after cutting off the end and the side we didn’t need, then gave the whole thing a rub with this stuff called Howard Butcher Block Conditioner (paid link), which consists of “food grade mineral oil and natural waxes”, according to Howard. Those waxes come from the aforementioned bees, I presume. Anywho, it seeps down into the wood and protects it both from moisture and lack of moisture, so the water doesn’t seep in or out too much, keeping it juuust right. Know what I mean? Yeah, me either, but it seems to work.
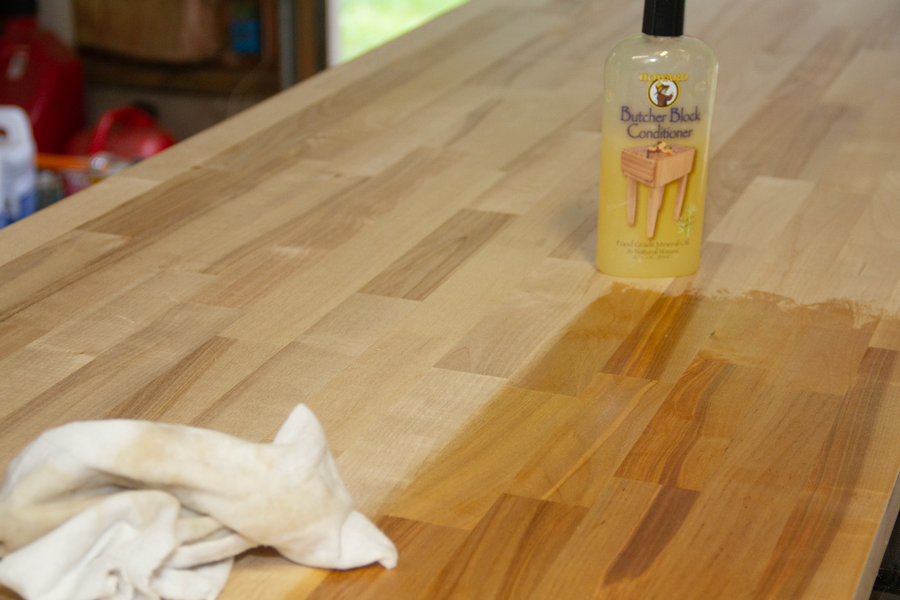
It’s a grain poppin’ good time.
Ah, we sealed the deal (I’ll show myself out).
Curb Alert to feature piece
Back in the Cabinetry Division, Steph pried the top off of the old cabinet, which we could have easily listed as a Curb Alert in the Free section of craigslist. She stashed the old top for later use and set about prepping the cabinet for paint. Unfortunately, the base had a bit of a surface mold issue. Steph used a few different methods to get it back up to snuff, including Clorox wipes (paid link), which kinda worked, then a vinegar solution that sorta worked, then a bleach and water solution that worked, but it smelled like we were eating salad in the Y pool. She then finished it off with a Borax solution, that made it smell like regular wood again. After all that was sun-dried like a sweet tomato, she sanded the piece down a little, primed it with Kilz (paid link) to prevent a future Mold-o-Rama, then painted it the final white color, which we would use throughout. She also scuffed up and painted the original hardware. In the end, we had a super cool looking Shabby Chic / Farmhouse-ish looking kitchen cabinet and countertop for a yard sale price.
Hey, stud
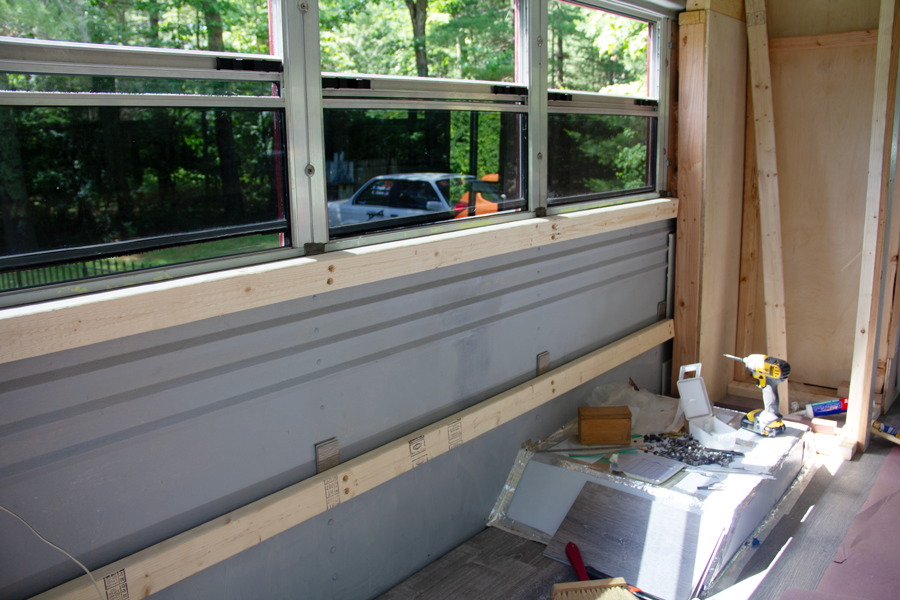
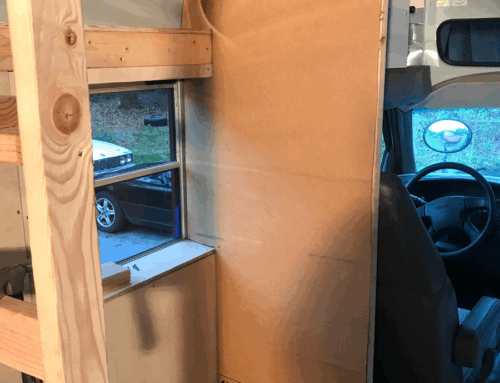
Before we installed the cabinet and counter in the bus, we put up some sideways studs, or whatever they’re called. The bus already had its own metal studs embedded, but we added some sideways studs to make room for cables and plumbing, but also to have something easier to screw into for the cabinet, the bed, the paneling, and the cabinet extension. The bus itself came factory stuffed with insulation, and since we’re not full-time, year-rounders, we just added a little extra protection with this stuff called Reflectix (paid link), rather than pulling the factory walls and adding more. Reflectix is essentially shiny bubble wrap that adds a temperature buffer and sound deadening to boot, which is helpful in the ‘Battle of the Rattle’ that we’ll get into later.
Once we got all that stuff in, I felt like we finally had a solid base to start building upon. In effect, we took out the vehicle part, with all that metal, and had made it into a tiny house structure with all that wood. Don’t get me wrong, I like the smell of burning metal drill bits and enjoy all the molten steel shards flying down my shirt and in my hair, but wood is a little easier for me — and burning wood smells a lot better than burning hair!
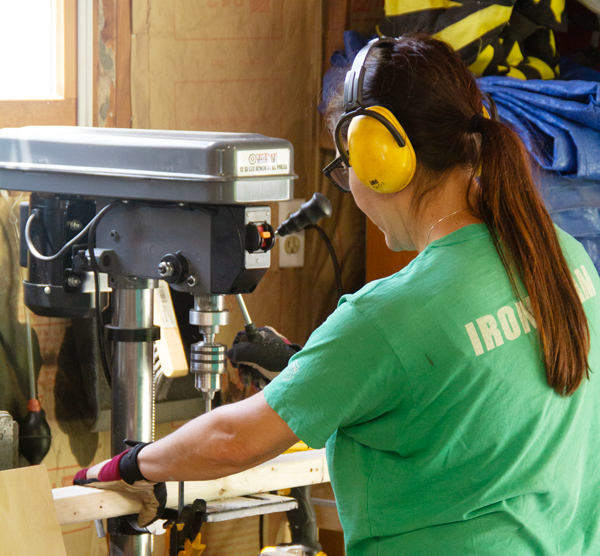
Steph countersinks the sideways studs, which, ironically, has nothing to do, in this case, with counters or sinks.
Using our favorite screws, we nailed this thing. Uh, what?
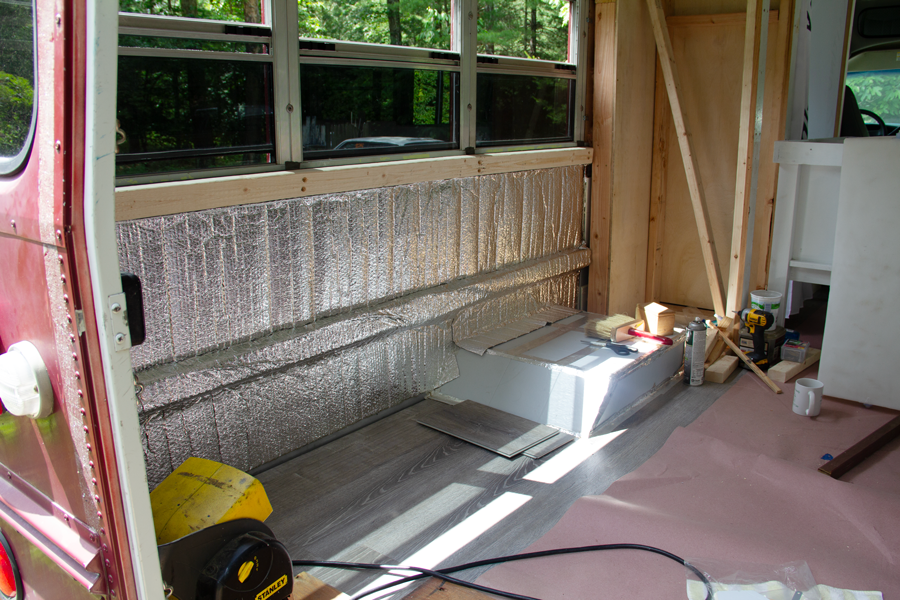
Keeps out the cold AND keeps the aliens from reading your mind.
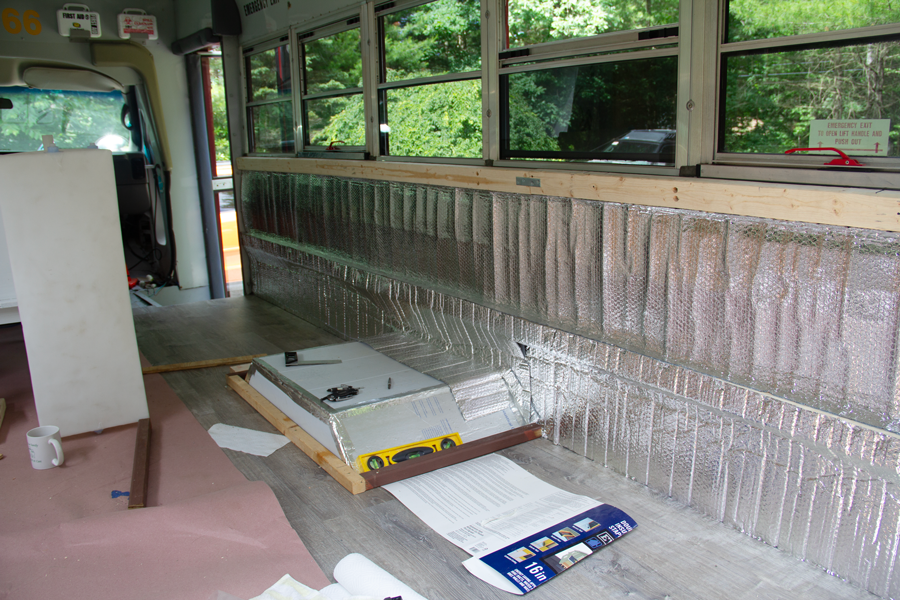
Is this Reflectix, or Studio 54?
My beer ain’t gonna chill itself
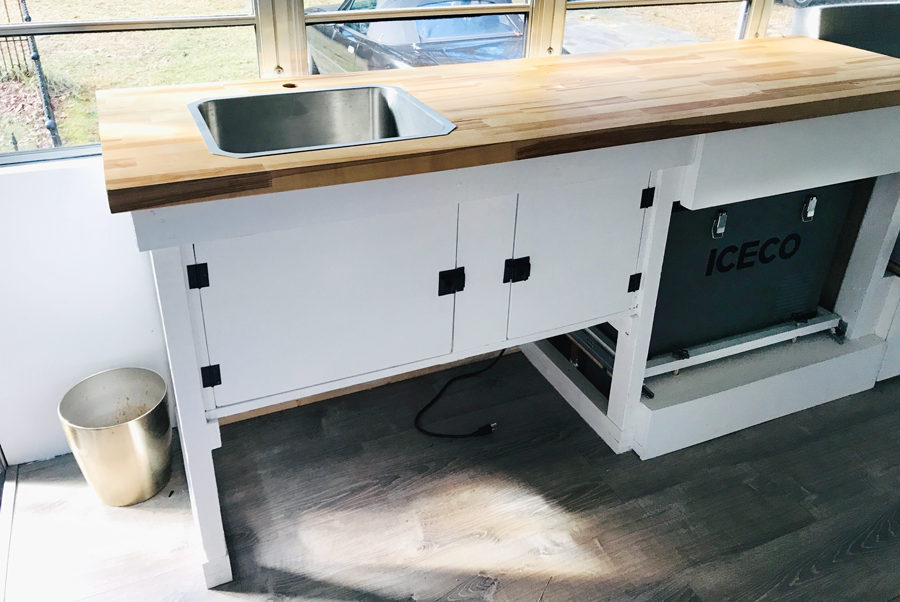
So the cabinet was only yea big, but we needed much more yea to accommodate a fridge with a cohesive look. That’s another reason why we went long on the counter. Using some of the older material we had acquired, we built an extension of the original cabinet and tried to make it look as it if were one piece. Under the extended section, we had just enough room to slide in our 12V Iceco fridge (paid link) that apparently keeps food cold too, as well as my local microbrews. We’ll get into the fridge a bit more in a future post, but it only pulls 50 watts of power, is cooler-esque with a lockable flip-up lid and not a traditional swing-out door. Iceco makes a factory slide out, but it costs around $65. Would it have been easier than building one? One Hundo Percent. But if it’s free, it’s for me.
Speaking of craigslist, in the early stages of the design and layout process, we had picked up some free cabinet lowers that actually came with soft-close drawers. We decided the cabinets wouldn’t work for our layout, but I harvested the soft-close mechanisms, which aren’t cheap, for use at another time. Well, that time was now. Using the sliders and a bathroom wall cutoff, we built a soft-close drawer for the fridge so we could slide it out from under the counter, pop open the flip-up top, and grab our favorite micro carrots at a moment’s notice.
After the slider and the fridge install, we figured out we had enough head space leftover that we could craft a drawer using one of the free craigslist drawer interiors and slides. We installed that and used some more bathroom wall cutoffs to mimic the front of the original cabinet. As luck would have it, the drawer insert that we used just happened to be the silverware one, so it came with everything all sectioned out so stuff didn’t slide all over the place when we had a coffee emergency and had to take a quick swing into a Dunkin’ Donuts.
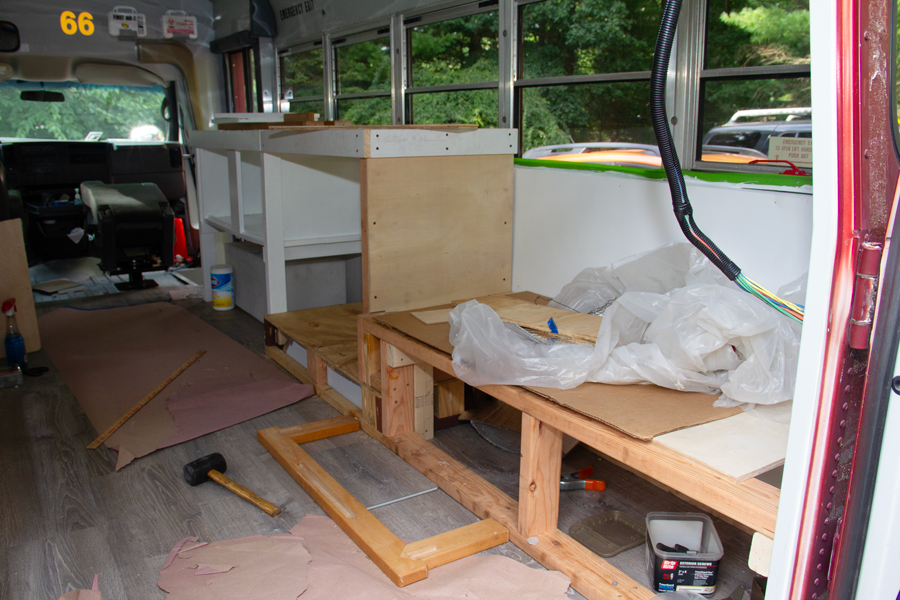
Here you can see the original cabinet with the new extension.
There’s structure in structure
Whew! Now that we had two definite structural pieces in the bus, the bathroom and the kitchen counter, it seemed like the rest would be easier to fall into place. This would prove mostly true. Everything was as flat and square as it could be, we just had some Thinker-pose moments trying to figure out the cuts, angles, and flippy positions needed for the bed and under-bed storage. As it turns out, neither of us are engineers or mathematicians!
See ya next time.
-30-


Leave A Comment