Doing brakes on a bus is just like doing brakes on any other vehicle, just way harder and much more time consuming. After our first adventure home, we wanted to at least be able to roll the thing around the yard and up and down the street for limited shakedowns and the like.
So I ordered up the parts from my go-to, RockAuto.com, which I’ve always found the cheapest and most efficient shipping-wise. They do take about a week to roll on in, so it’s not Amazon quick, but in most cases, much cheaper for quality parts. They break things down into nifty categories too, like Economy, Daily Driver, Heavy Duty, and Commercial
Here’s a quick guide for those designations:
- Economy – I’m selling this heap tomorrow, just put parts on it.
- Daily Driver – These are pretty good OEM parts.
- Heavy Duty – Ooo, I can brake later and still not rear-end a Pinto.
- Commercial – I’m gonna beat the sweet bejesuz out of these parts and they’re gonna keep askin’ for more.
Because it’s a bus, albeit a small one, I still went for the commercial grade stuff as I know I’m going to be towing with this thing and I have a lead foot and an empty head. Now before Sunny, my heaviest duty rig was my ’02 Xterra, which seems really beefy, and it is, but compared to a rig that needed to stop 14 kids, a teacher, and a driver from careening off 395 at Ludicrous Speed, the Xterra parts seemed a bit light.
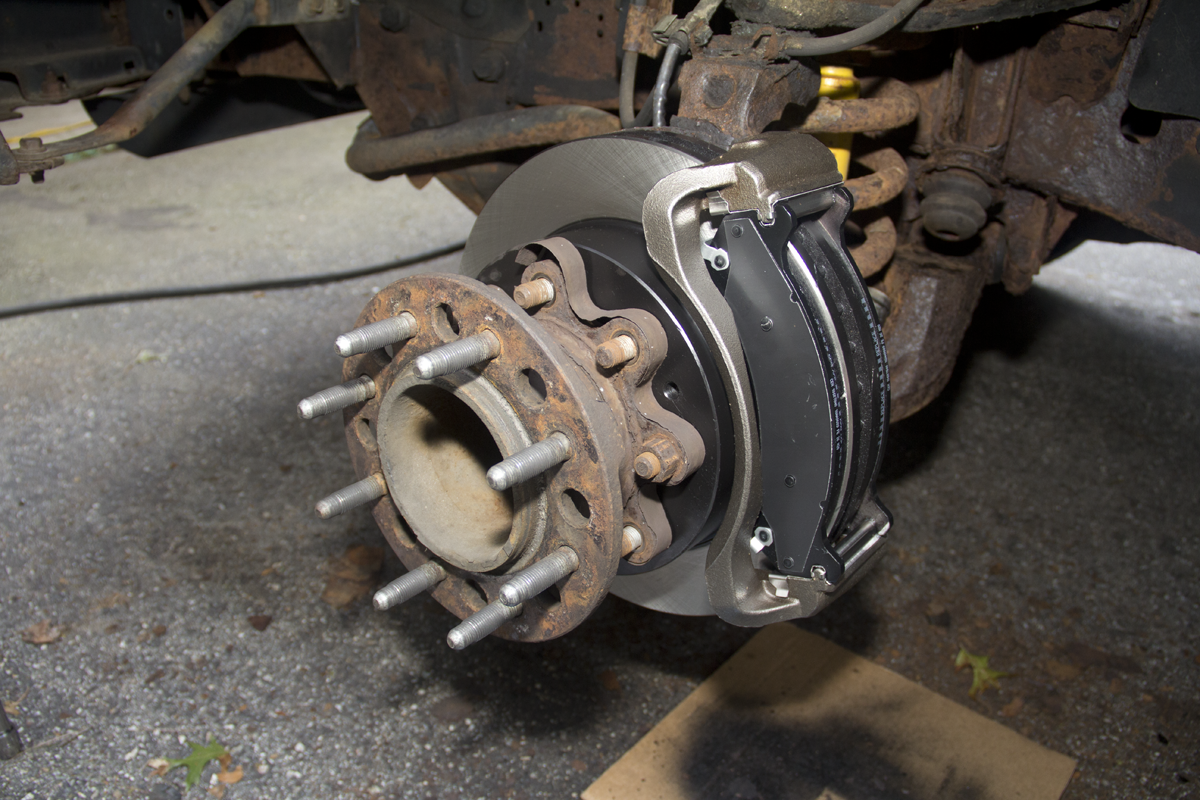
Fresh brakes are always an exciting thing, except for the bleeding.
When the parts came in, I actually needed a hand-truck to move the box around. If the brake rotors on a first-gen Miata are teacup saucer sized, these things are the size of the plates at that place in Texas that makes you eat a side of beef in less than an hour. Let’s just say they’re big. And heavy. But brand-new!
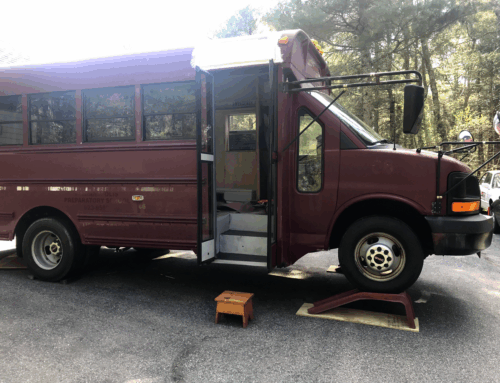
You gotta start somewhere…
If you’ve never done brakes before, perhaps this isn’t the place to start. Everyone knows that the best place to practice is on your mother-in-law’s car. That said, brakes, despite what our earlier post says, really do slow you down – if you do them correctly. For this particular job, I actually had to remove this giant outer hub thing that had all the lug studs jammed into it before I could even get to the rotor.
So the rotors are supposed to spin freely and the calipers squeeze the brake pads onto the rotors, which actually do the slowing down of things. But, because the front right was actually seizing in the ‘brakes on’ position, there was a whole lotta heat and friction goin’ on. When the brakes clamped down, they stayed clamped without releasing. This is a bad thing.
The front left wasn’t much better. It was very, very close to seizing in the full clamped position, so good thing I didn’t know about that before we set off that night, because otherwise logic would have (might have?) taken over and I would have (might have?) thought about getting it towed. That makes too much sense though, so we didn’t do that at all. Logic be damned!
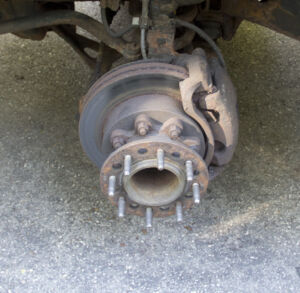
Here’s the front brakes in ‘before’ mode.
Usually, when swapping brake pads out, you can pull a bolt out part of the caliper swings out and you can slap in some new pads, and bolt it back down again and be gone. Even on the non-seized one though, that bolt was so rusted, there was nary a thing to do but take the whole caliper off and start from scratch. To do that, one must wrestle off two caliper bolts from behind the rotor assembly. Again, rust had had its way with this particular part, so I hosed the thing down with this magical stuff called PB Blaster, a penetrating oil that smells so disgusting you actually start to like the smell the more you use it, because that means old parts are coming off and brandy-new ones are going in their place.
A little heat and a BFH…
This was the ONLY time PB didn’t work for me. I hosed it again, went and had some lunch, came back to bolts that wouldn’t budge, even with a breaker bar and a BFH (Big F*cking Hammer, for those uninitiated), the things didn’t budge. Steph suggested heat, which means a blowtorch and some general anxiety that the flame is gonna light up 15 years of grease-able ball joints that would burn forever like that underground coal fire in Pennsylvania that’s been burning since the ancient aliens built the pyramids.
Alas, Wifey’s trick worked the business! Sure enough, I heated up the bolts and brackets with the yellow propane, MAP, which I guess is hotter than the blue stuff and the green stuff that attaches to the Coleman camp stove, which we plan on using inside the bus instead of plumbing for propane (see ‘General Anxiety’). So heat-heat-heat, then slowly crank those bolts with the breaker bar and they should ease on down the road.
Steph asked that we pause for a moment of silence for this win, so I obliged. It was, after all, definitely a win. After the champagne, I rustled up some wire to hang the caliper with so it didn’t put undue stress on the rubber brake hose, which was recently installed by the previous owner. As I went to yank off the caliper, with the pads still hostage, I noticed that it just didn’t want to budge.
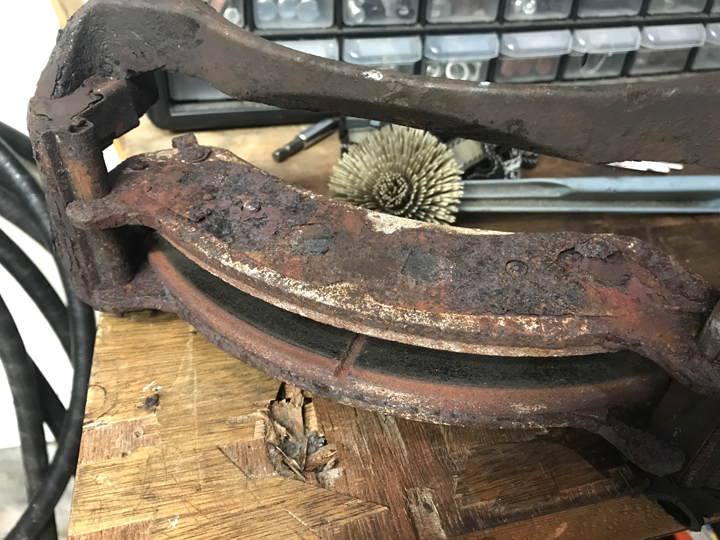
This is what rust and neglect looks like — also parking in a puddle.
But now, the fun part. Typically, smashing brake parts with a BFH is a big no-no, but since these parts were ALL going to the scrapper, it was a big yes-yes! Careful not to smash the brake hose, I started lightly tapping the brake bracket with a 3-lb. sledge. Nothing. Five-pound sledge. Still nothing. Eight-pound sledge standing up, something. A little movement.
I hit it again and again and again from either side so the thing basically see-sawed off and fell off with a deep thud, a deeper divot in the driveway, followed by a rain of rust. Even the fall didn’t separate the huge disc from it’s bitey clamp. Curiosity and the possibility of reusing the rotors got the best of me, so I continued on smashing the thing off and after a little while it did come free. I voted against reusing, assuming they were warped and the fact that I had new ones in the wings.
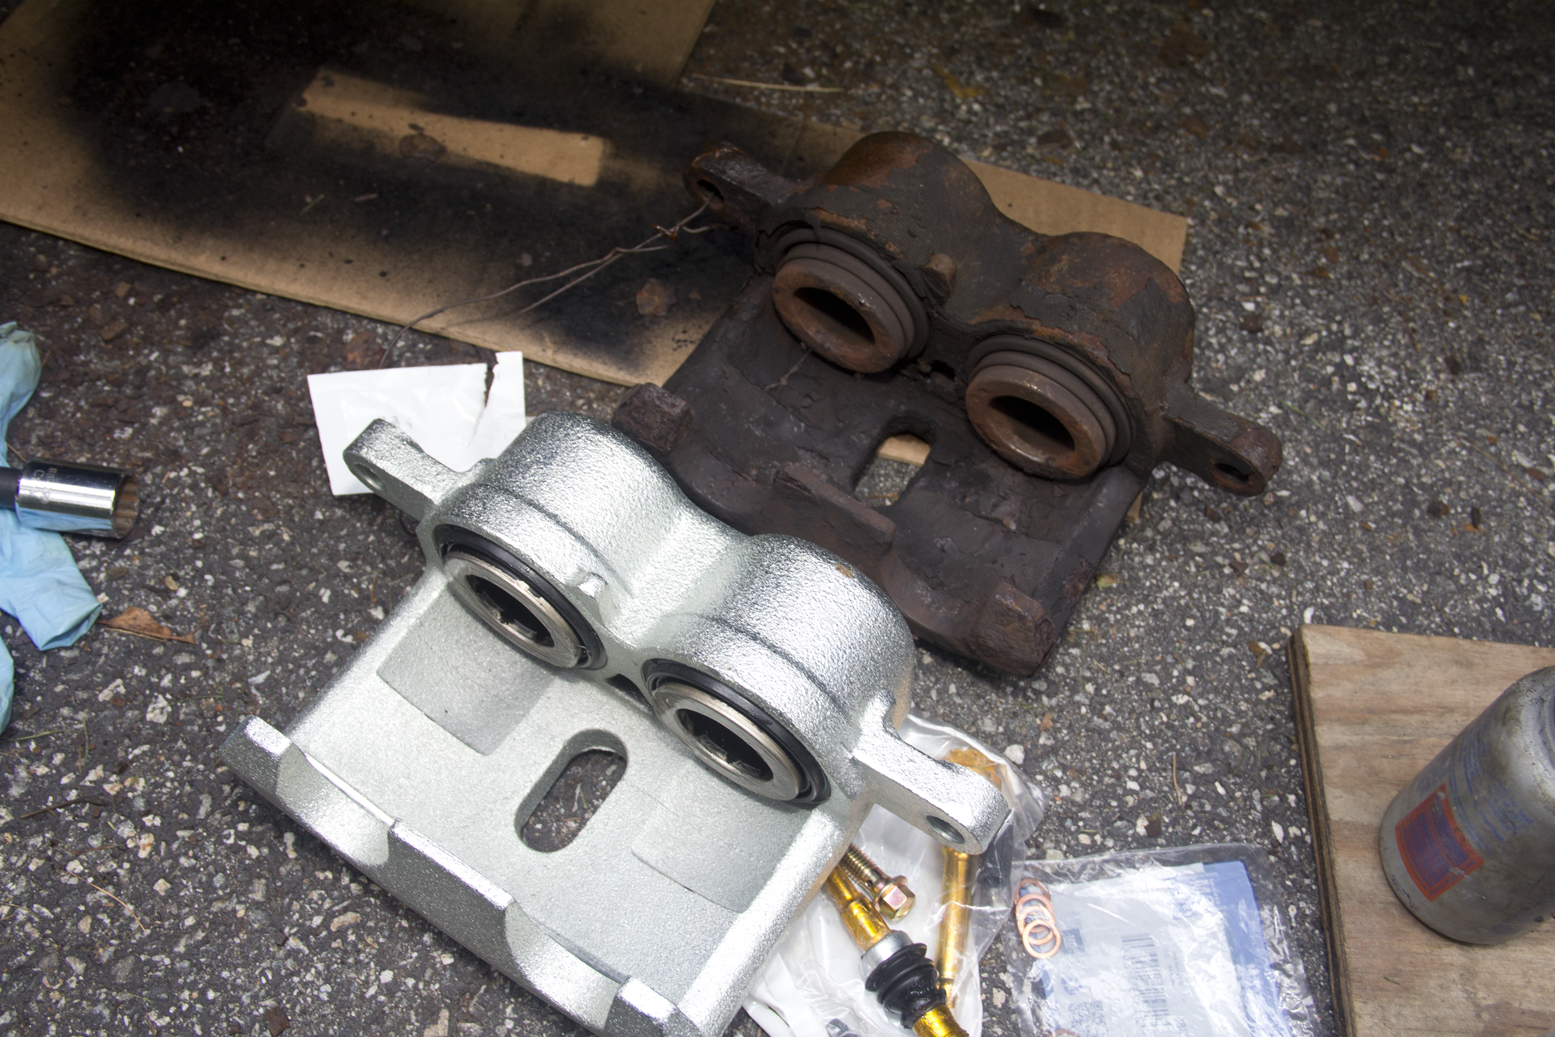
Here’s the ‘before and after’ for the calipers.
So, all of those clampy, rusty, greasy hot bits came off and now I got the fun task of putting it all back together with all the new bits. Calipers went on, pads went in, discs slapped on, lug nut holder-on-thing went back on and then everything got torqued down to spec and I even remembered to put the lugnuts back on all the way (we’ll save that story for another time).
Repeated for the other side, this project did take us a couple of days, including the bed-in process for the brakes, down to the pond and back. Since we took out all the ‘school door’ gubbins, as soon as I took a right, that thing flung open with gusto, but I knew we weren’t going that far. Steph ran blocker with the Xterra full of recovery gear and towing power in case I ended up in the pond or a nice ditch.
Luckily, neither of those things happened, the brakes were properly seated, and I guided Sunny home with nary an incident.
So job done – for now.

Leave A Comment